Growing mushrooms at home (Part 2): from grain spawn to the first Mushrooms
Notes from moving mushroom spawn onto straw substrate, incubating it in buckets, bottles, and freezer bags, then waiting for the first oyster mushroom clusters.
- Author
- FlamaBloom
- Published
- July 20, 2026
- Updated
- July 20, 2026
- Reading time
- 6 min read
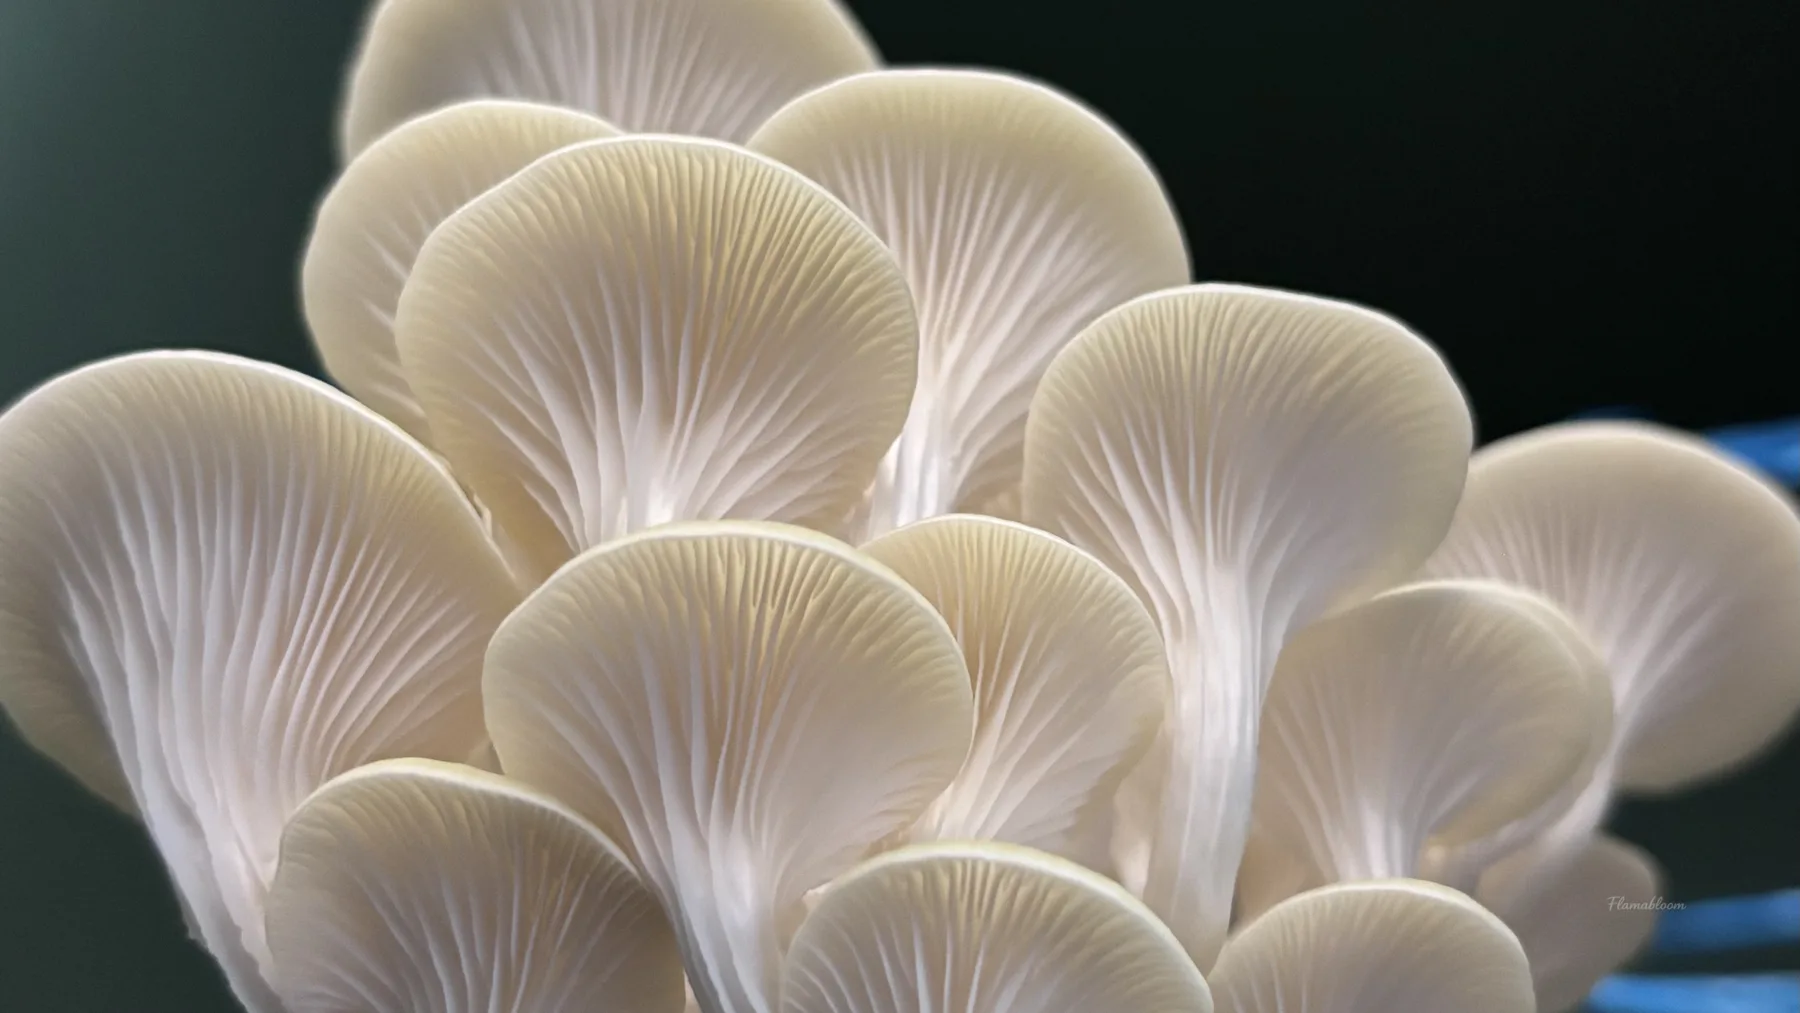
In the previous article, I wrote about my first attempt to multiply mushroom spawn from one original container into several jars of corn grain spawn.
When I saw the white mycelium beginning to spread through the jars, I was very happy. But that was only the first step.
To harvest my first mushrooms, I still had to move them into a new "home."
That home was the substrate.
I chose straw for the first batch
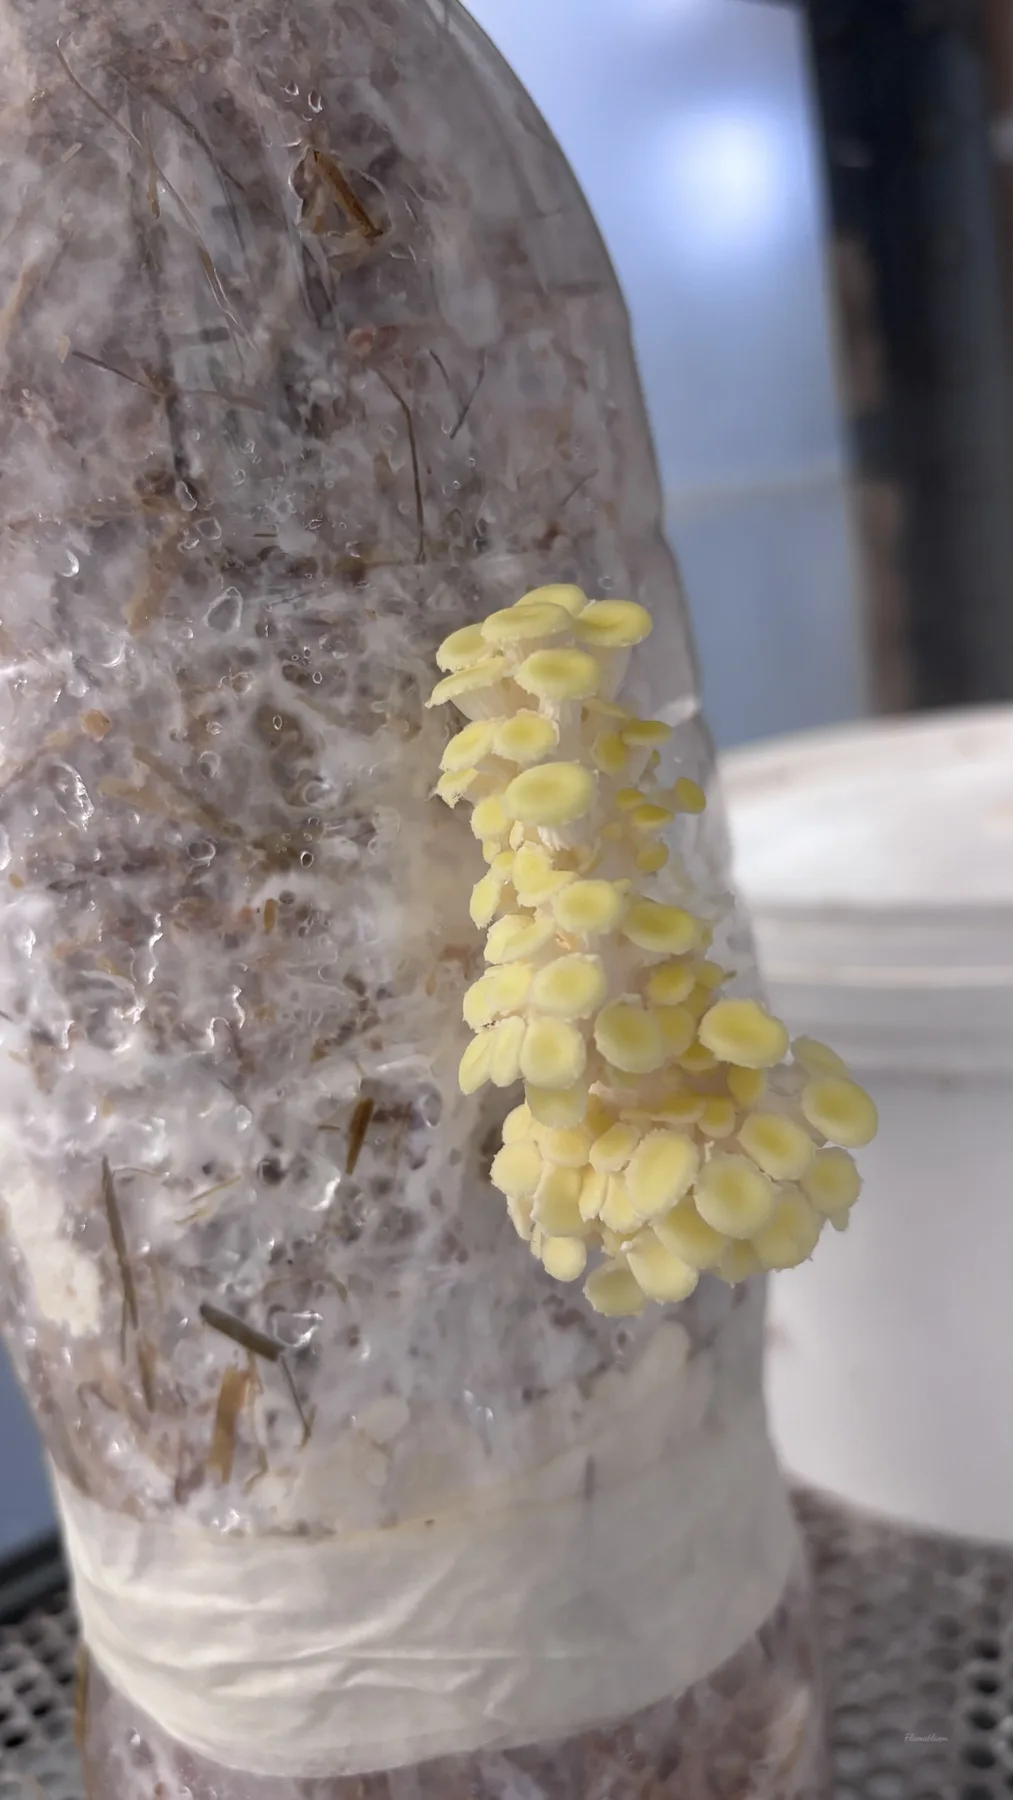
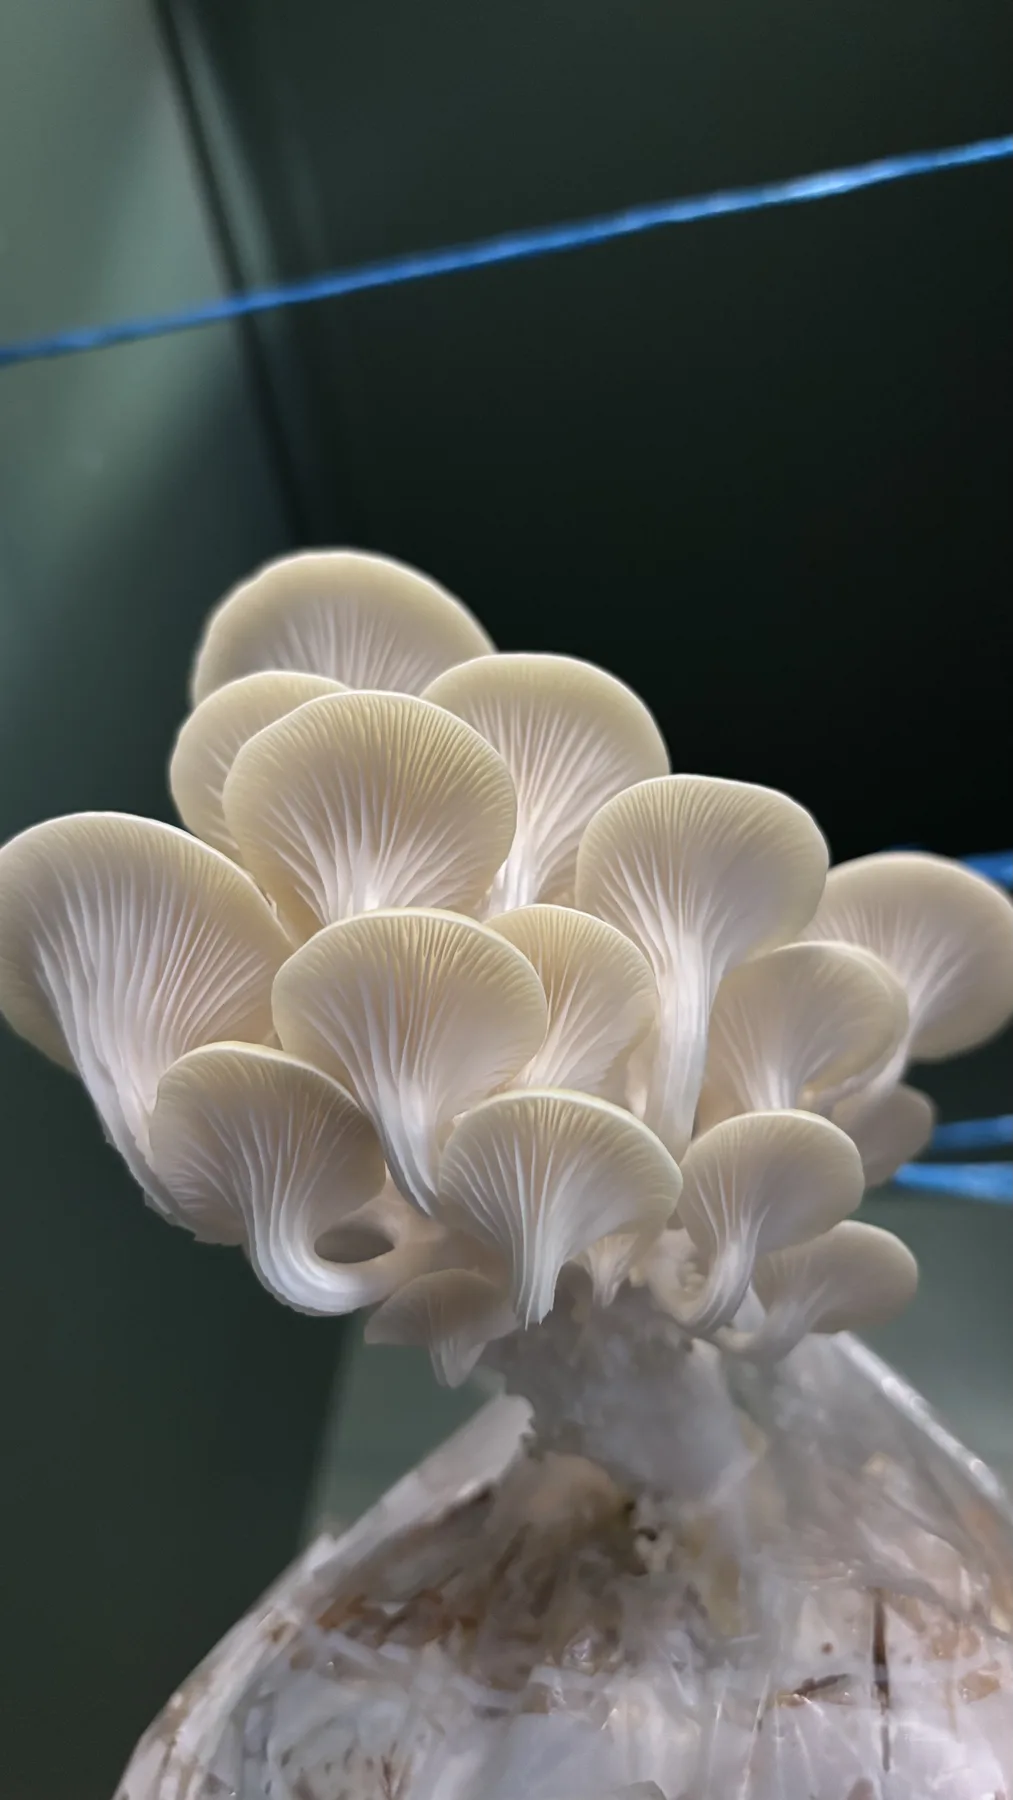
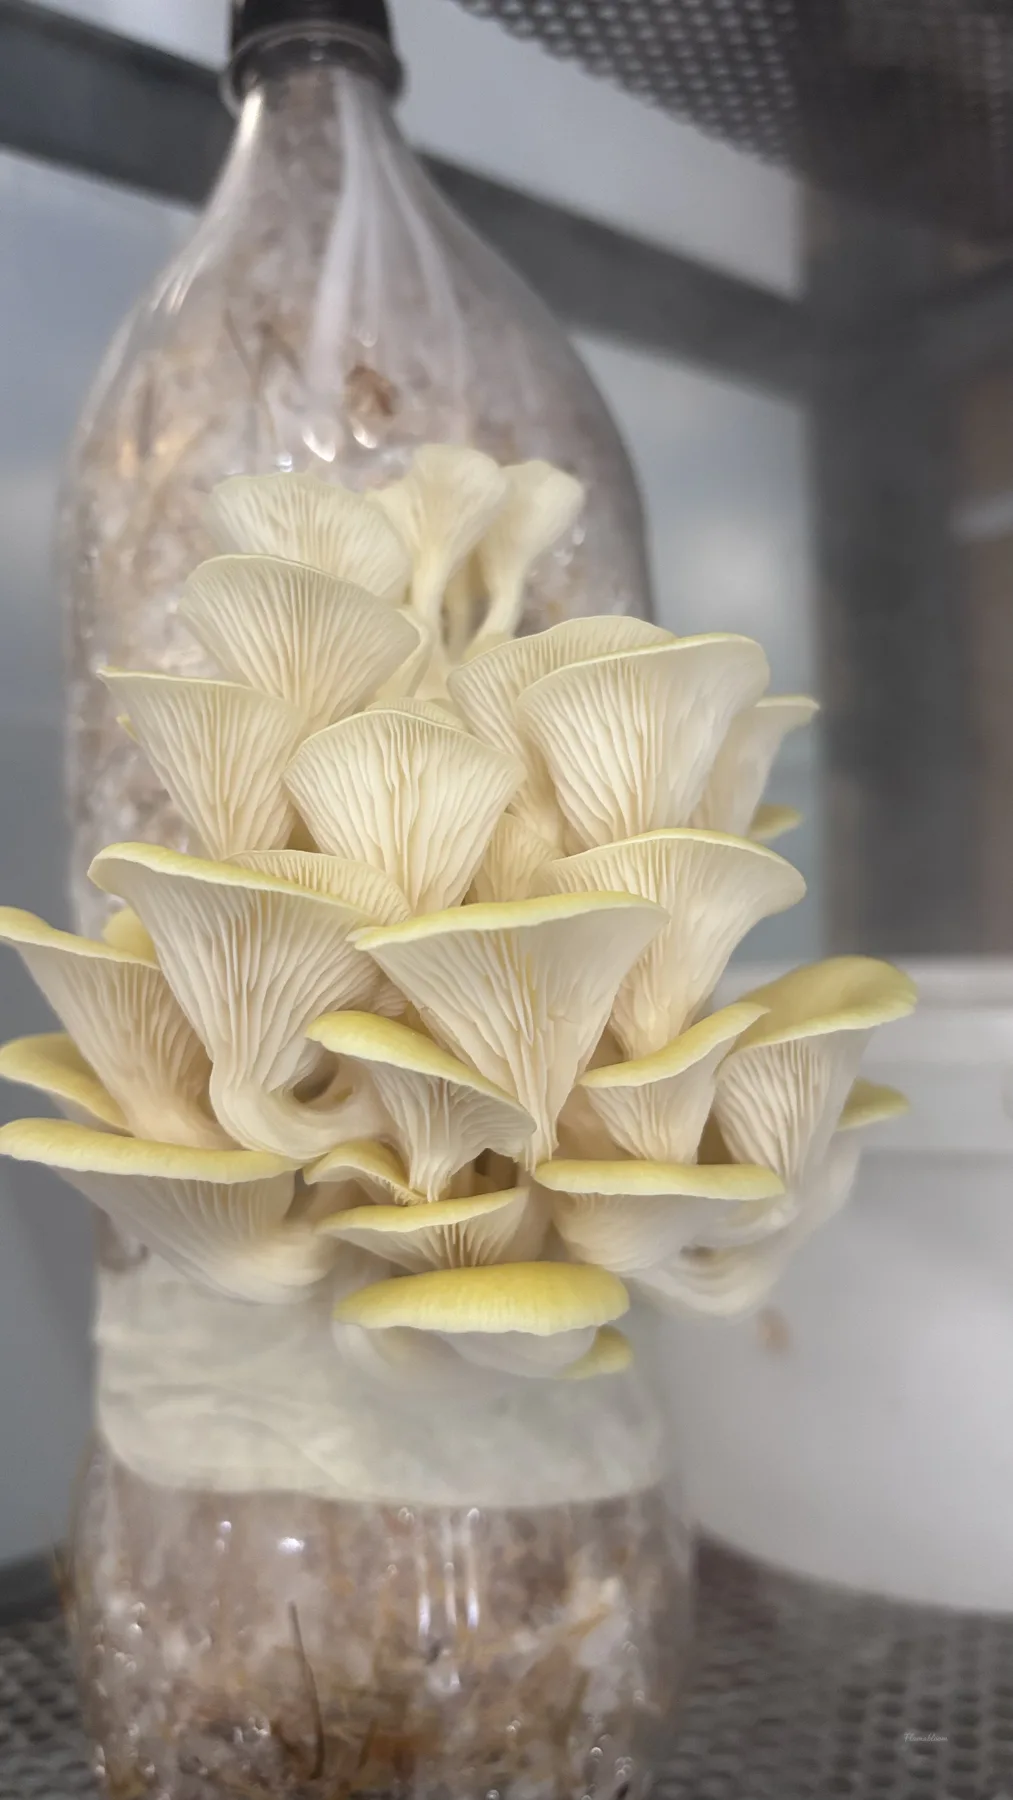
This time I decided to try two familiar types: grey oyster mushroom (Austernseitling in German) and golden oyster mushroom (Limonenseitling in German).
Both grow well on straw, so straw felt like a natural place to begin.
I did not buy pre-treated straw. I used the straw I already had. First, I cut it into pieces of about 5 cm so it would be easier to pack into buckets, bottles, or bags later.
Then I put all the straw into a large pot and boiled it for about 90 minutes.
This step helped reduce many of the microorganisms and molds already present in the straw, giving my mushroom mycelium a better chance to grow.
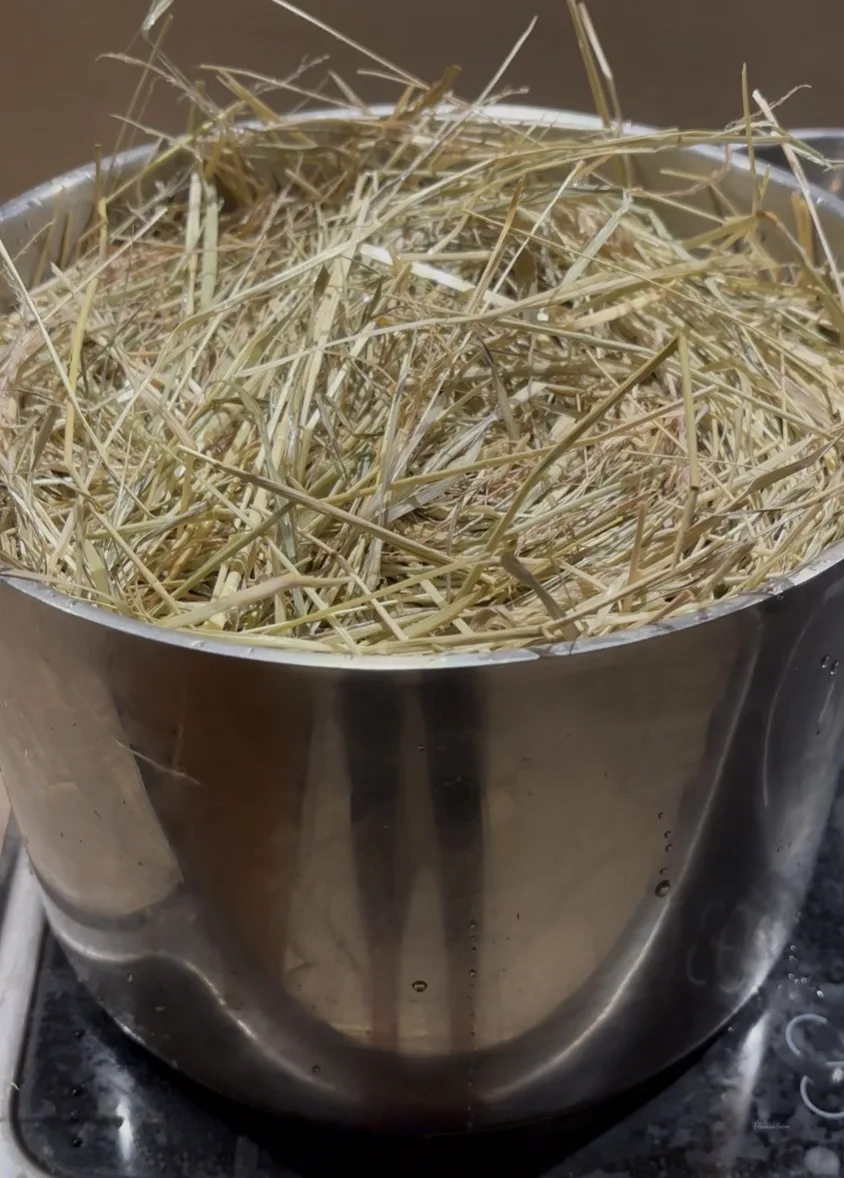
After boiling, I took the straw out and let it cool completely.
This was also the moment to pay attention to moisture.
If the straw is too dry, the mycelium grows slowly. If it is too wet, mold can become a problem very quickly.
My test was simple.
I took a handful of straw and squeezed it gently. If only about 2-3 drops of water fell between my fingers, it felt right to me.
Plastic buckets, Coca-Cola bottles, and freezer bags
The container part may make some people smile a little.
There are many professional mushroom grow bags for sale online. But I was still new. I did not want to invest too much right at the beginning.
I wanted to experiment first.
So I used whatever I already had at home.
A few plastic buckets.
Empty Coca-Cola bottles.
And even freezer bags from the kitchen.
They still worked surprisingly well.
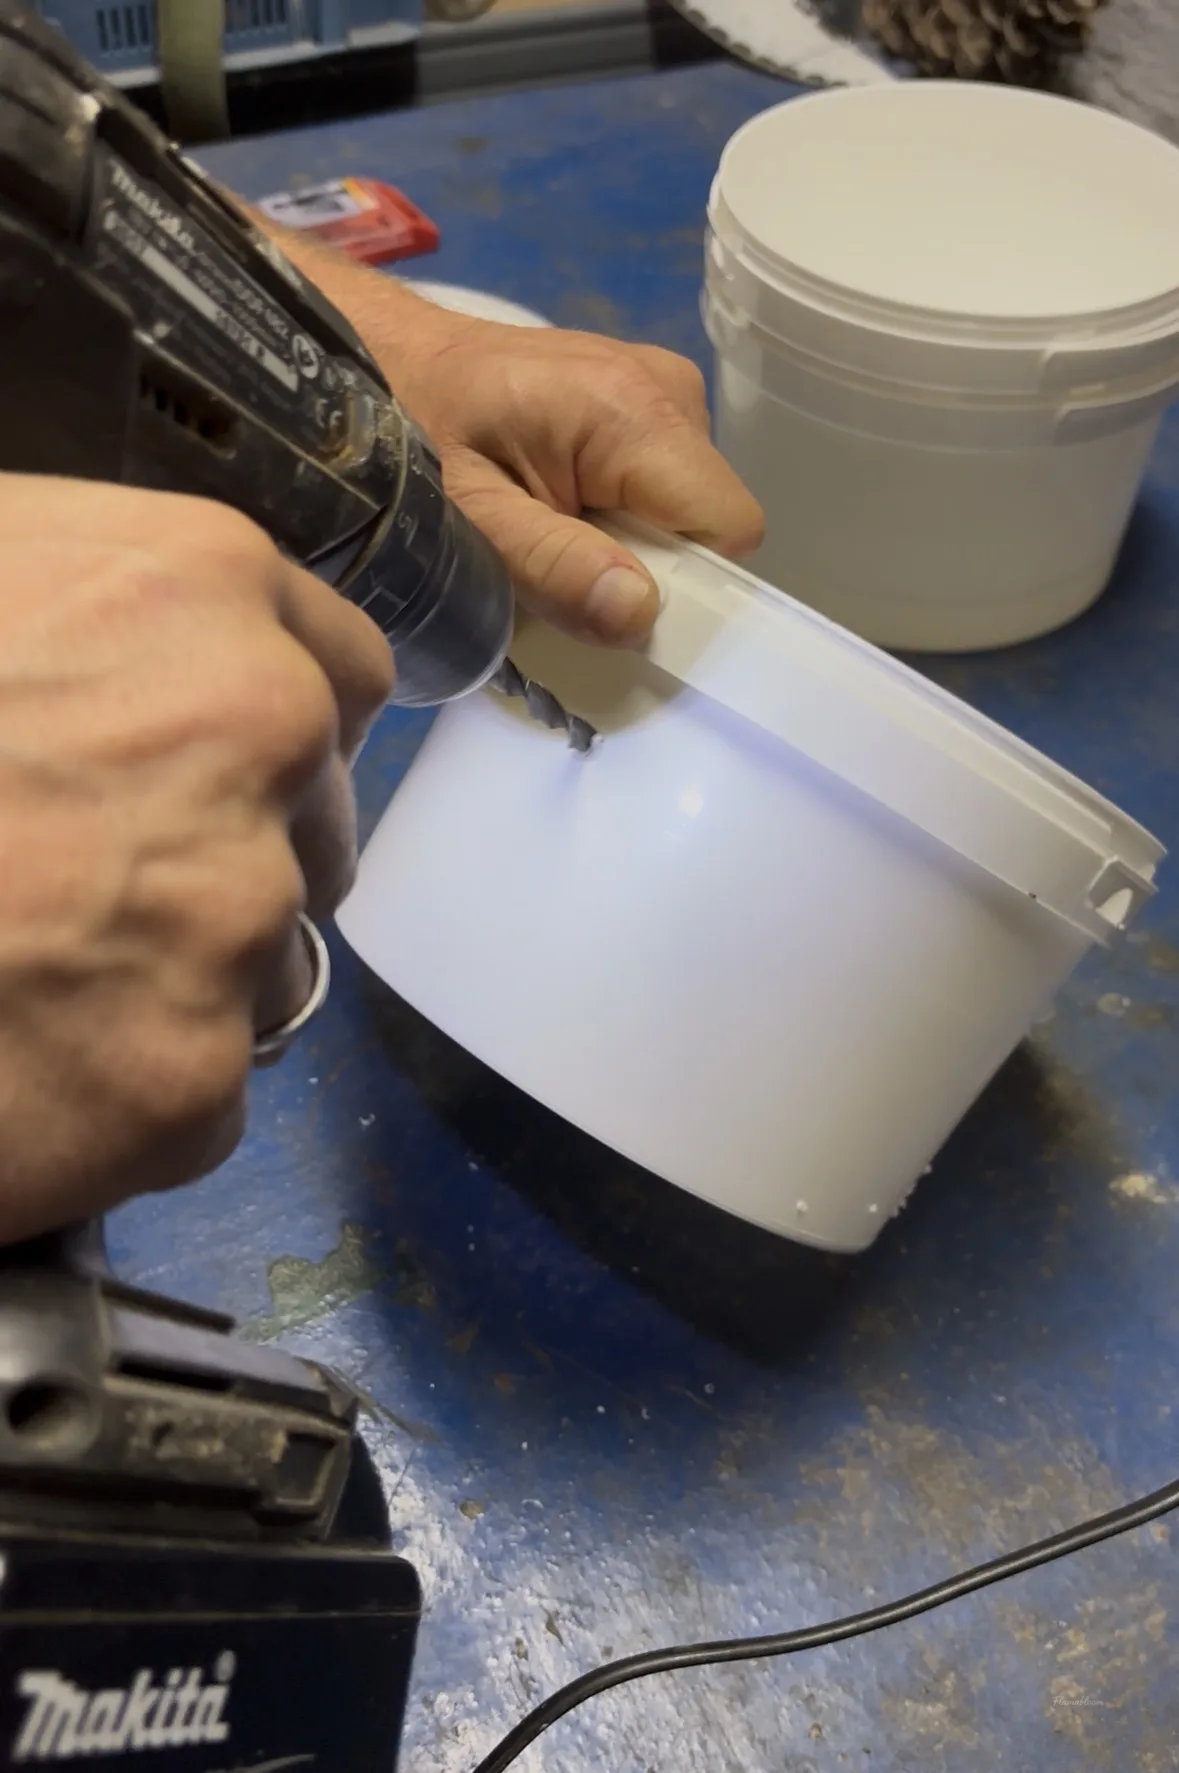
For the buckets and plastic bottles, I used a drill bit to make small holes of about 8 mm, so the mushrooms would have places to grow out later.
Inoculating the substrate
Then came the inoculation step.
I disinfected my hands carefully before working. On days when I did not feel fully confident, I also wore gloves.
I tried to work as quickly as I could, without rushing, to limit bacteria and mold spores from the air falling into the substrate.
The method was very simple.
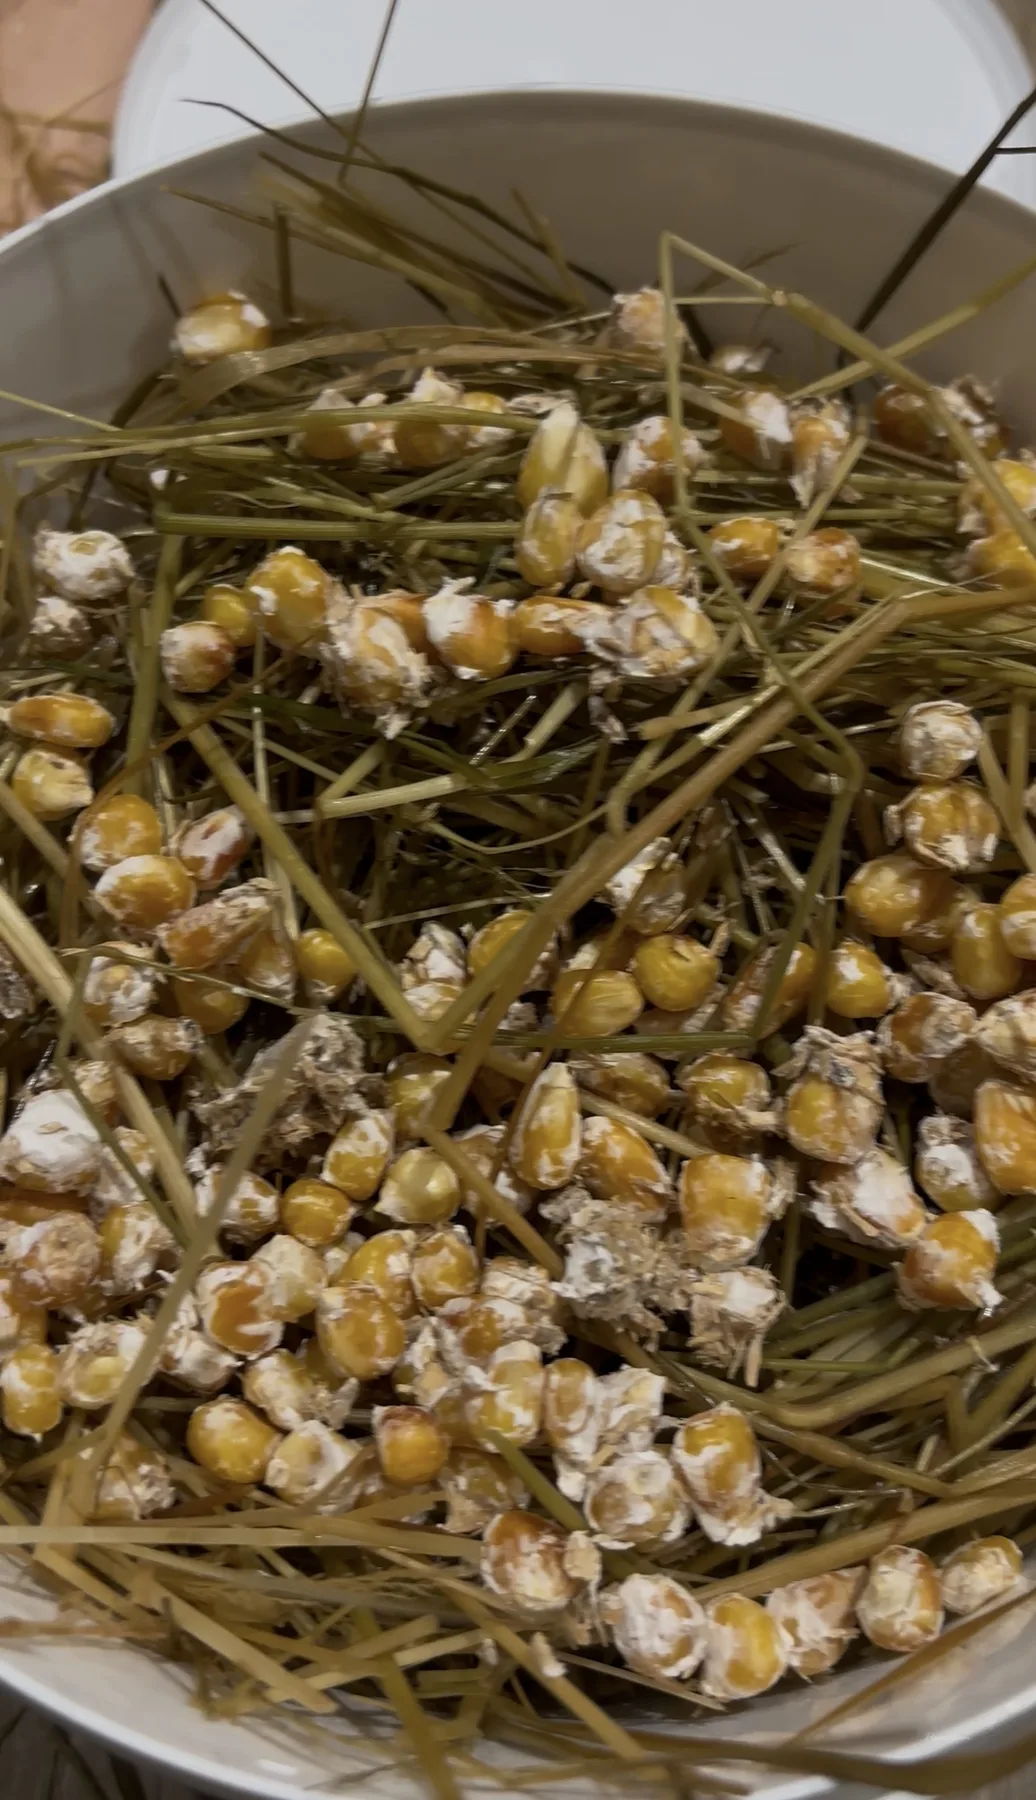
A layer of straw.
A layer of grain spawn.
Another layer of straw.
Another layer of grain spawn.
As I filled the buckets or bags, I pressed each layer down lightly so the substrate became a little firmer, but I did not pack it too tightly because the mycelium still needs room to grow.
When everything was filled, I tied the bags closed or put the lids on the buckets.
And from that moment, my favorite stage began.
The waiting time
That was the time for... waiting.
At this stage, the mycelium does not need light yet. It needs warmth, enough moisture, and darkness.
I often imagined it like a seed still resting under the soil.
I used a temperature of about 20-24°C for this batch. I simply put everything into a cardboard box and left it in a corner of the room.
What I liked most was being able to "visit" them every day.
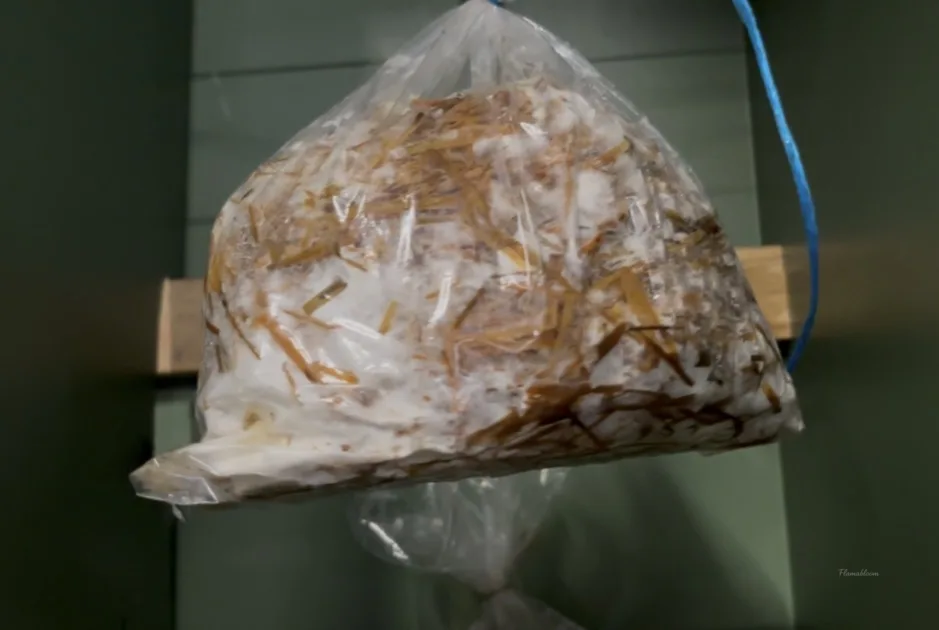
Because the Coca-Cola bottles and the bags were transparent, I could see with my eyes how far the mycelium had grown.
If I happened to see green mold, I isolated that substrate right away, or discarded it if needed, so it would not spread to the other bags.
Luckily, my first batch grew beautifully.
After about two weeks, the white mycelium had covered almost the whole substrate.
That was when I knew it was time to move to the next stage.
Encouraging fruiting
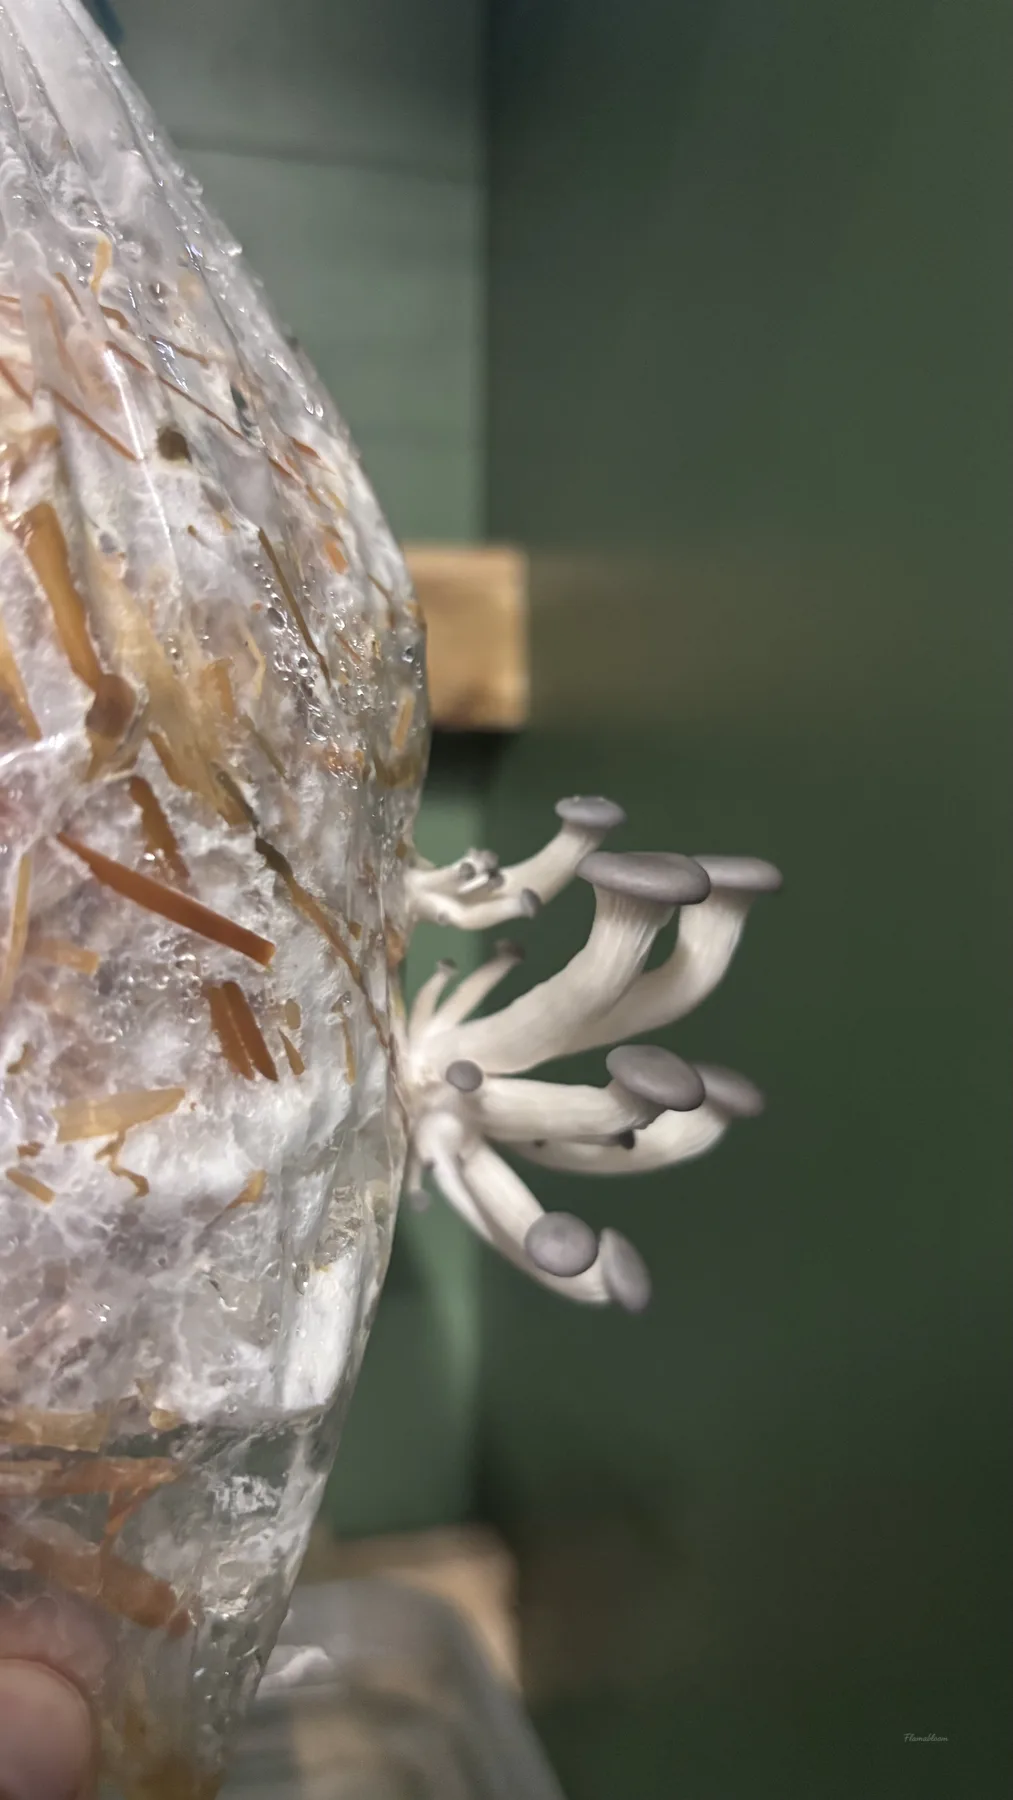
This is the stage where I encouraged the mushrooms to fruit.
At this point, the mushrooms needed a very different environment.
Instead of dark and warm, they began to need:
- a cooler temperature, around 15-17°C
- high humidity
- a little light
- and especially moving air
I like to imagine this stage as the moment when the mushroom has grown close to the surface of the soil. It senses the light and "knows" it is time to become a full mushroom.
To keep humidity high, I used a spray bottle and misted about three times a day.
But if I only sprayed water and left everything in open air, the moisture disappeared very quickly. So I placed the substrates inside a larger box and left the lid slightly open.
That way, the moisture stayed longer while air could still move.
This matters a lot.
Mushrooms need oxygen, just like we do. As they grow, they also release CO₂. If the space is too closed, CO₂ builds up and the mushrooms may grow in odd shapes.
I also made a small mushroom growing cabinet to experiment with.
But that story probably belongs in another article.
The first Mushrooms
Once the substrates were moved into the right environment, everything happened faster than I expected.
After only about one week, tiny mushroom pins began to appear.
Then almost every morning, I woke up and saw that they had grown a little more.
It felt as if mushrooms grew so quickly that one night's sleep was enough for them to look different.
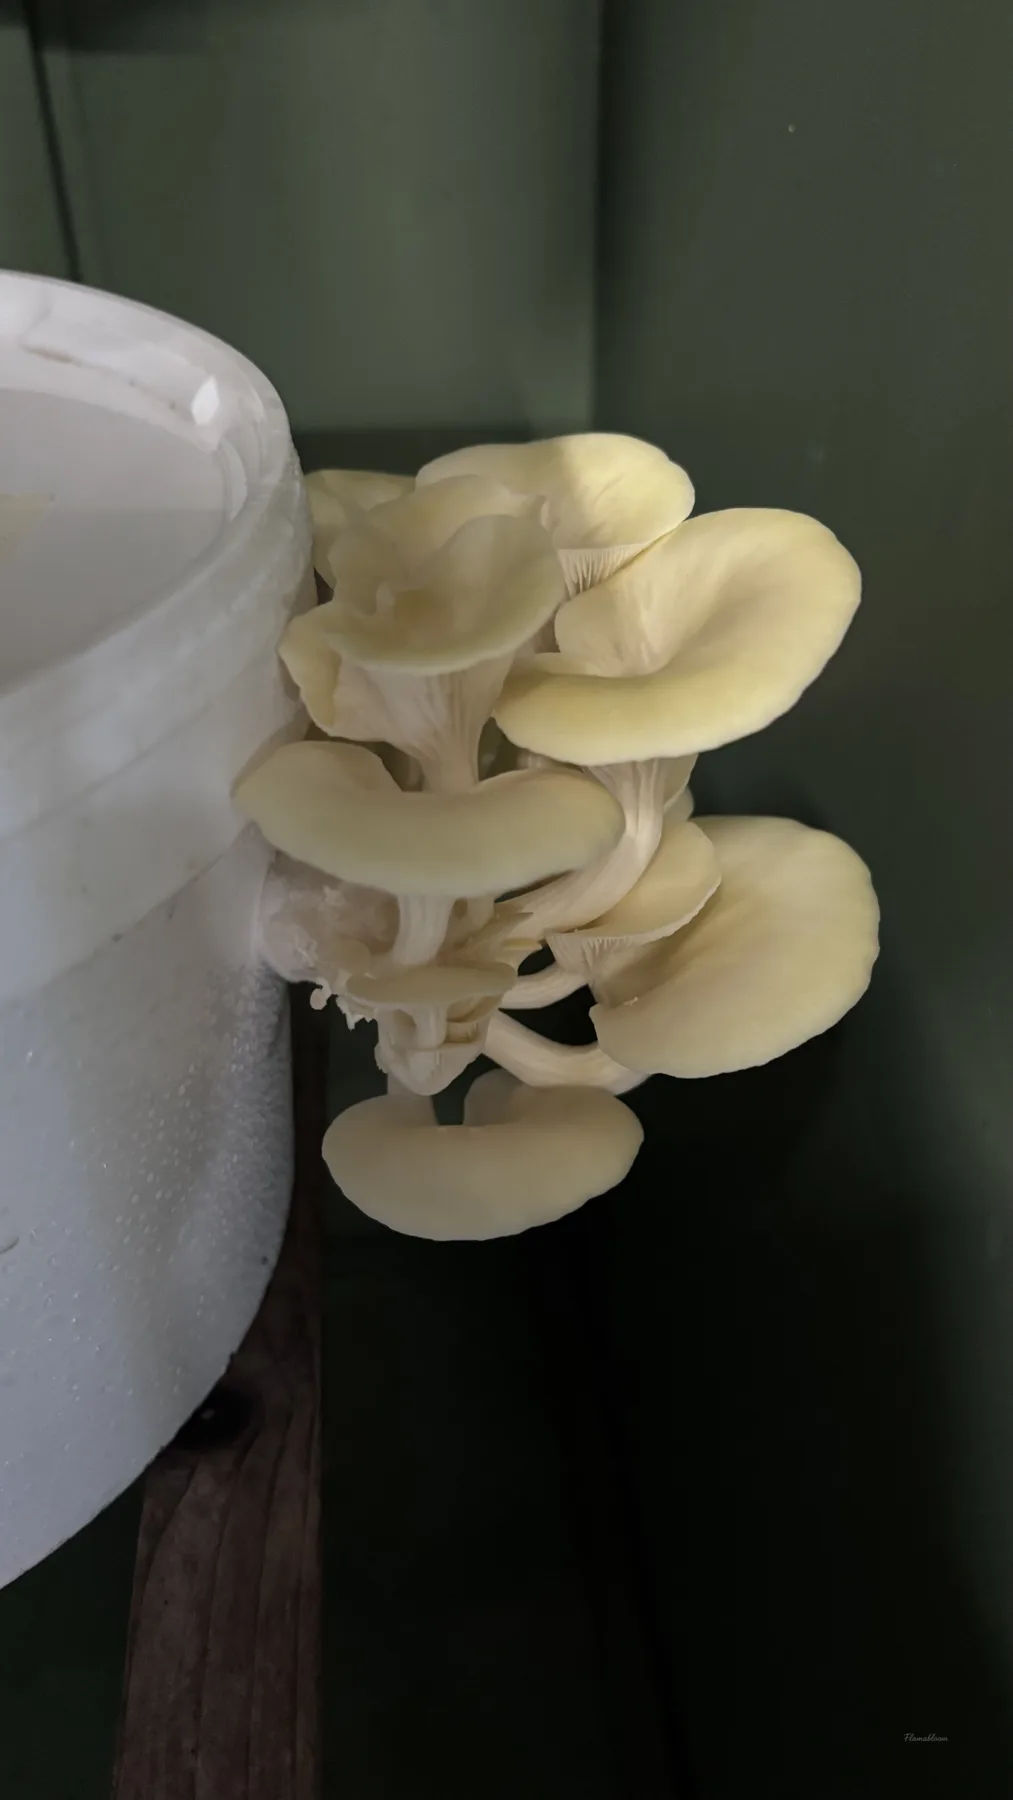
About 7 days after the pins appeared, I could harvest my first clusters.
Cutting mushrooms that I had grown with my own hands felt genuinely joyful.
Maybe because I had watched the whole path, from a small bit of spawn to something that finally became food on the table.
Starting with ready-to-fruit blocks
If propagating mushroom spawn still feels a little difficult, do not worry.
I think it is completely fine to begin with ready-to-fruit mushroom blocks.
Caring for them and watching them grow is just as interesting.
Once you understand what mushrooms need to develop, you can always return to my previous article about propagating spawn.
Maybe, like me, you will discover that growing mushrooms is not only a hobby.
It is also a very special kind of joy.
I hope your first mushroom batches bring you that same small excitement, and many quiet experiments that make you want to check on them just one more time.