Growing grey oyster mushrooms from a supermarket mushroom
Notes from my small experiment using the inner stem of a supermarket grey oyster mushroom to regrow mycelium on fresh coffee grounds.
- Author
- FlamaBloom
- Published
- July 22, 2026
- Updated
- July 22, 2026
- Reading time
- 6 min read
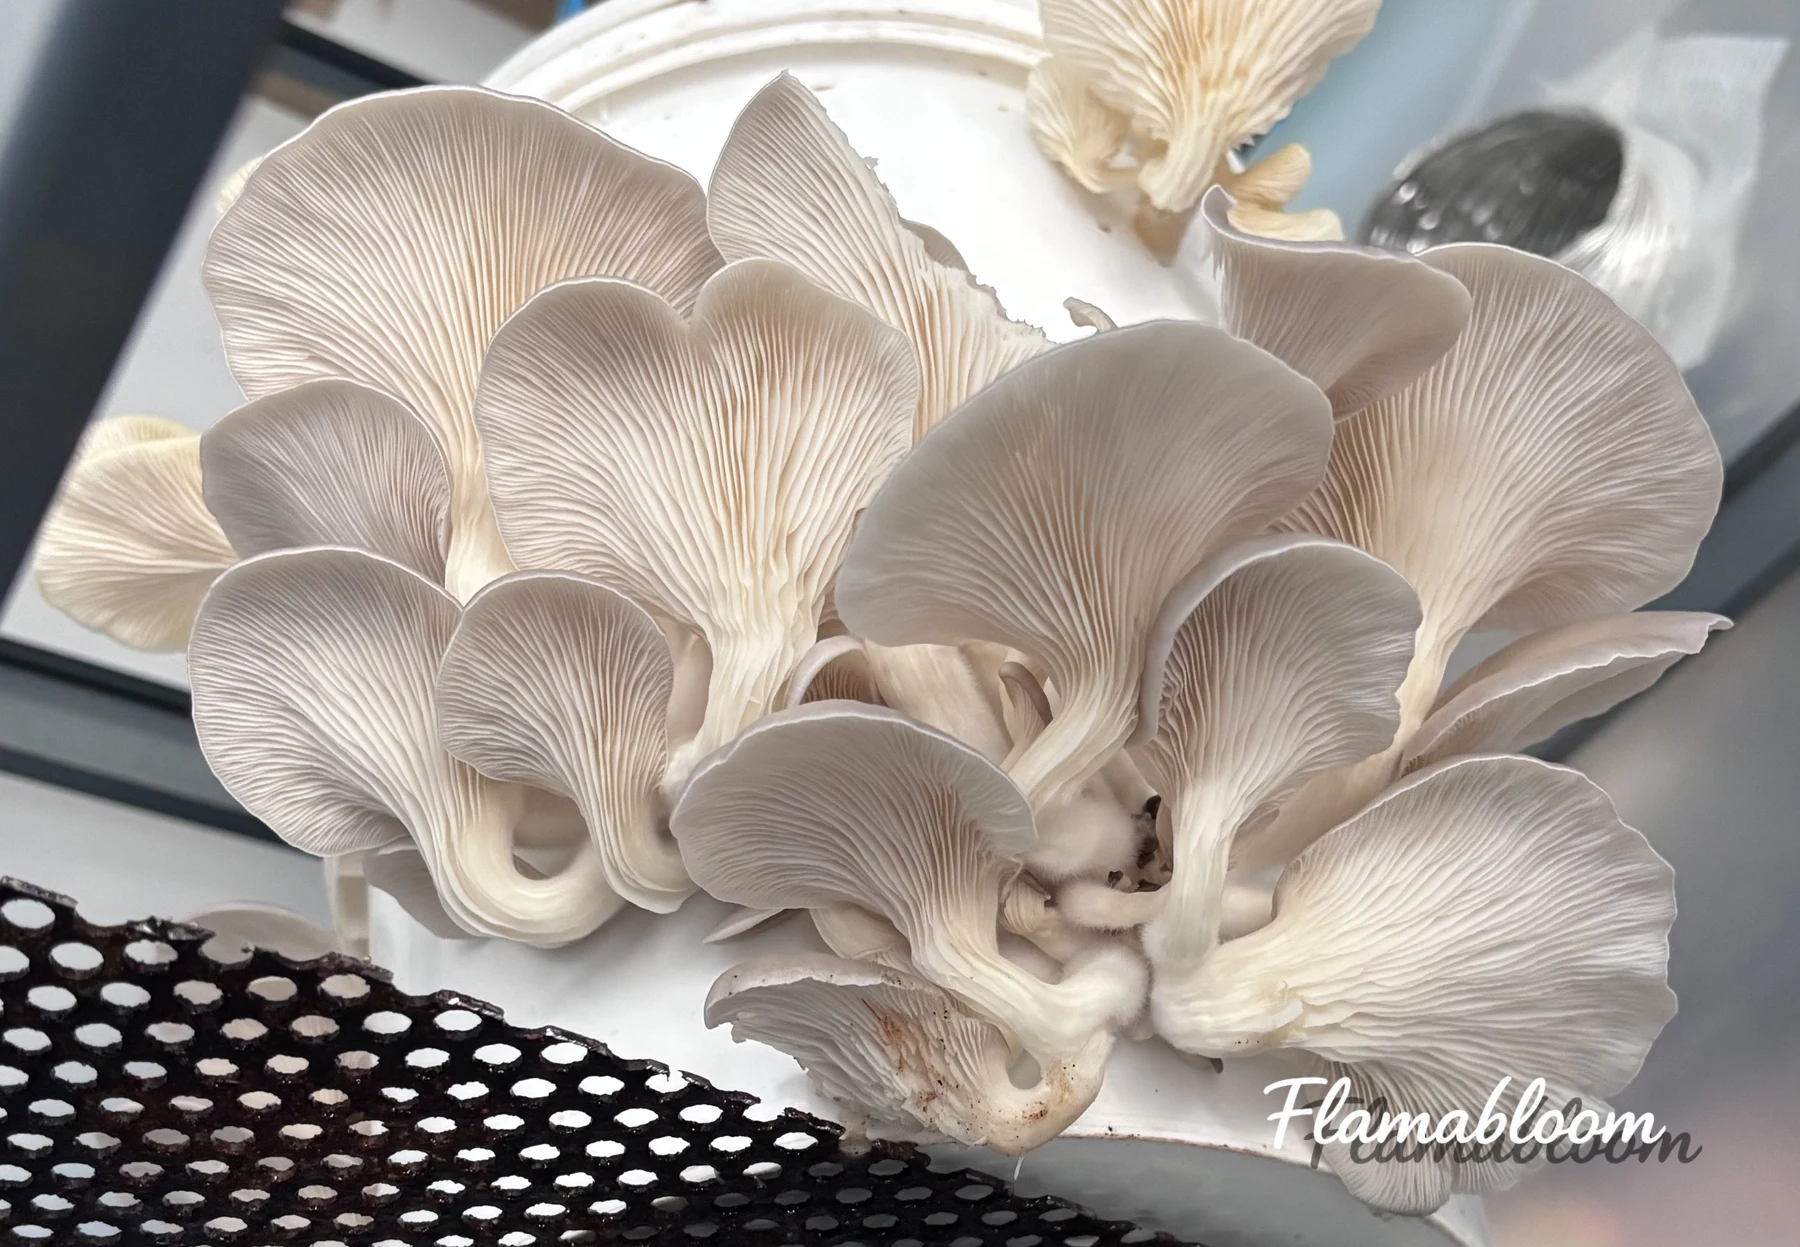
If someone asked me:
"Where do you buy mushroom spawn if you want to grow mushrooms?"
A few months ago, I would probably have answered:
"Well, you buy spawn, of course."
But after one slightly reckless experiment, I realized the answer could also be:
"In the vegetable section of the supermarket."
It sounds a little unreasonable, doesn't it?
A mushroom that had already been harvested for sale, sitting in a supermarket fridge, could still become the beginning of a whole new mycelium network.
I did not really believe it either.
So I decided to try.
And luckily, this small experiment worked.
A very simple idea
The question I was curious about was:
If the mushroom stem was still alive, could I take the inner part of the stem and grow the mycelium again?
If it worked, I would not need to start with a new box of spawn.
Just one mushroom from the supermarket.
That was the most interesting part of the experiment.
What I prepared
Everything I used was very simple.
- One grey oyster mushroom bought from the supermarket.
- A small glass jar that had been disinfected.
- About 50 g of fresh coffee grounds.
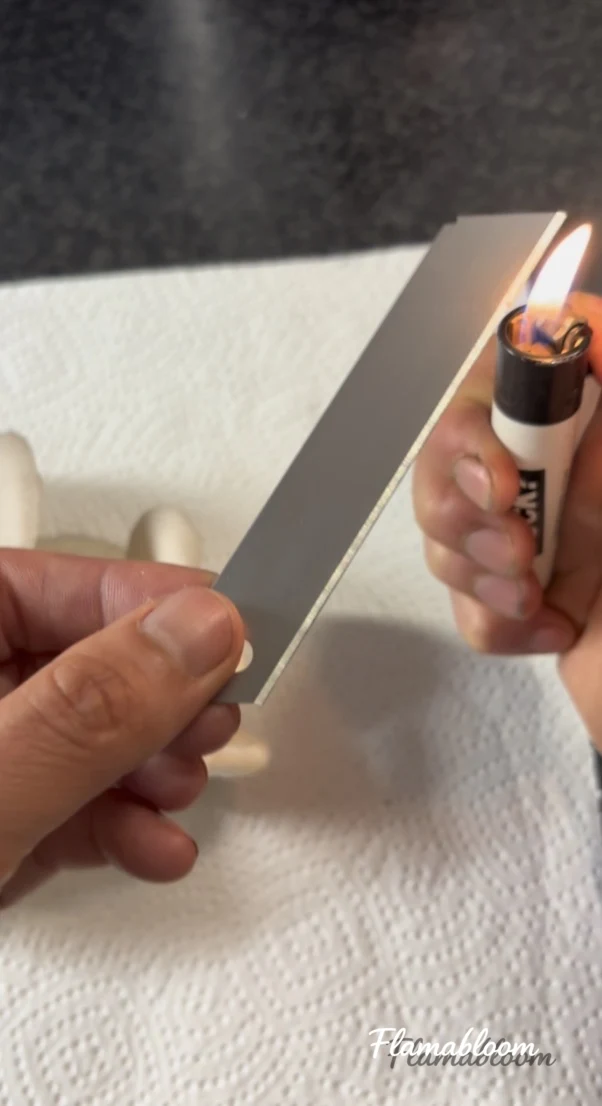
- A razor blade or small knife disinfected with alcohol or flame.
- Very clean hands.
I like using glass jars because I can watch the whole process from the outside.
Seeing mycelium grow day by day is oddly similar to watching a seedling get bigger.
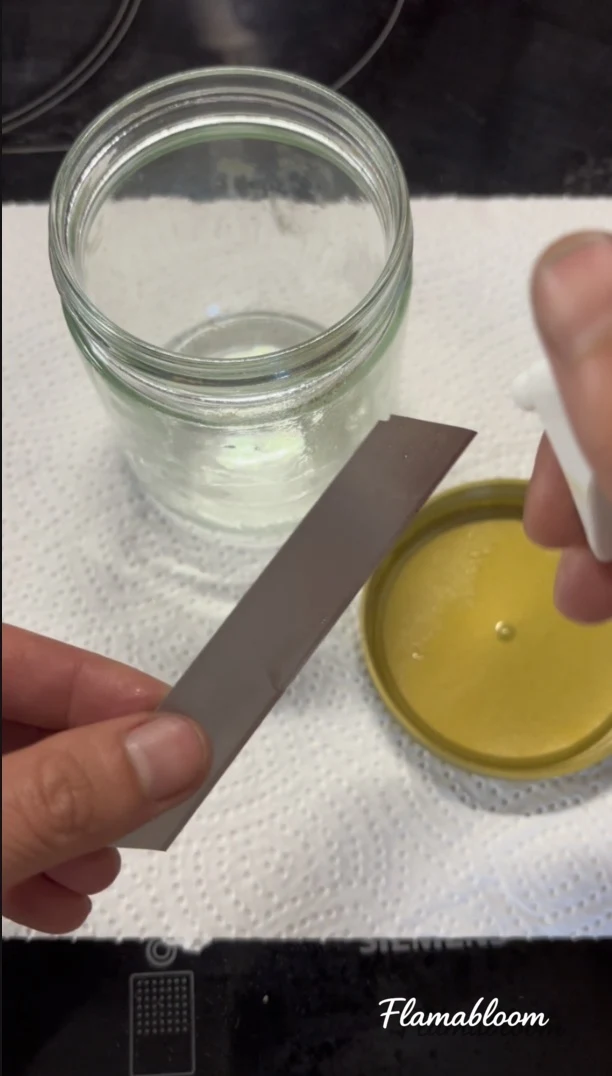
Why I chose coffee grounds
This is probably the question I get most often.
I did not use coffee grounds that had been sitting overnight.
I did not use dried grounds either.
I used coffee grounds from coffee brewed about 1-2 hours earlier.
At that point, the grounds were still very fresh.
They had cooled to room temperature.
And most importantly, they had not yet had time to become a buffet for all kinds of environmental mold.
To put it lightly, I wanted the oyster mushroom mycelium to be the first guest to move in.
Not the moldy neighbors.
The most important part
I separated the mushroom.
Then I used a disinfected knife to cut away the entire outside of the stem.
I kept only the inner core in the center of the mushroom stem.
This is the cleanest part and the part that has had the least contact with the outside environment.
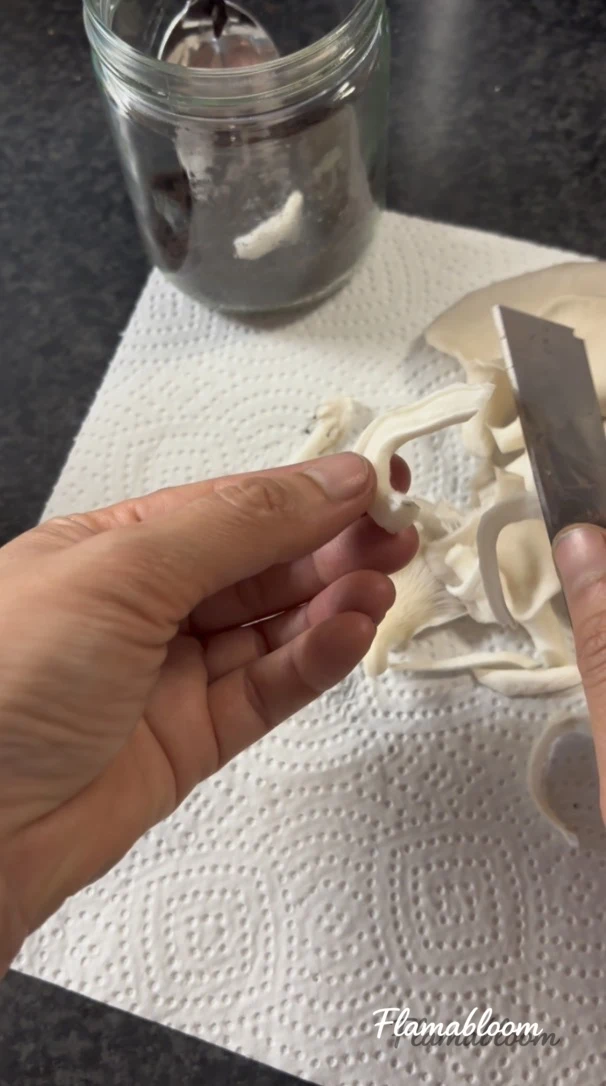
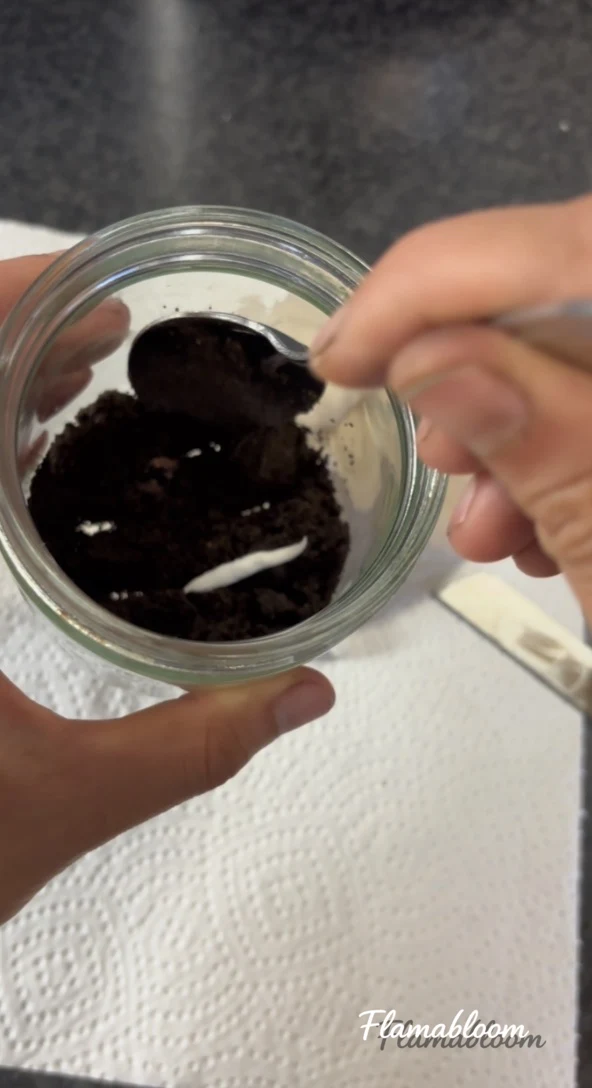
Right after cutting it, I quickly placed the core into the jar of coffee grounds.
For this experiment, I used about three pieces of inner stem for one jar with about 50 g of coffee grounds.
Then I closed the lid.
If possible, it helps to make a small hole in the lid and cover it with filter tape, such as micropore tape or filter tape.
That way, air can still exchange, while dust and many outside microorganisms have a harder time getting in.
The first few days
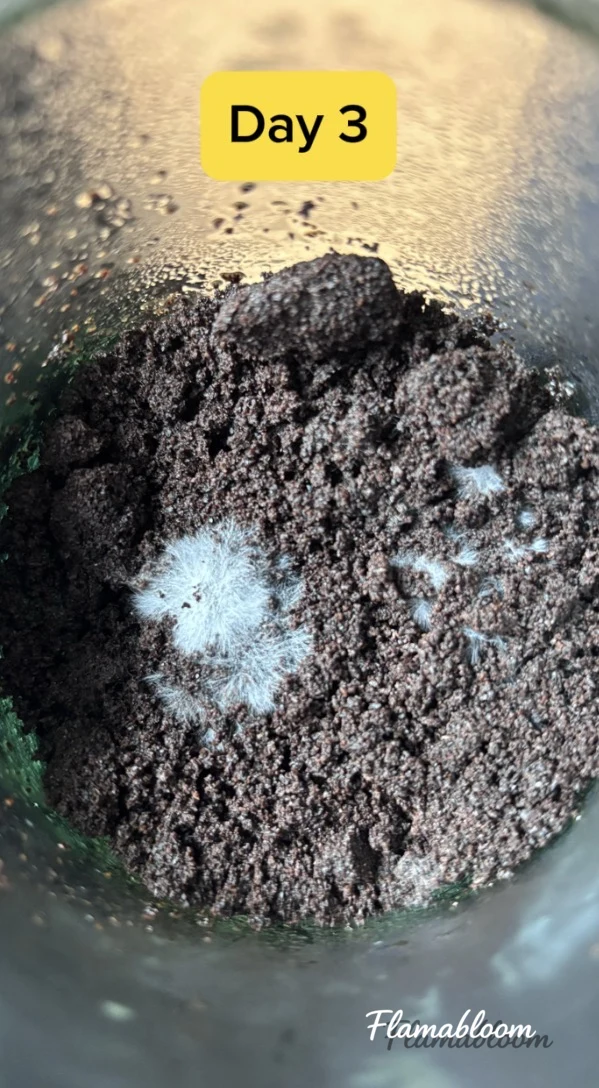
After about three days, I started seeing tiny white threads appear.
At first, they looked like just a few thin strands.
Then each day there were a little more.
It is surprisingly hard to describe how that felt.
Every morning, the first thing I did after waking up was check the mushroom jar.
Not my phone.
Not the weather.
The mushroom jar.
I wanted to see how far the mycelium had crawled overnight.
Maybe that was when I began to understand why people get so fond of growing mushrooms.
Feeding the mushroom little by little
When the mycelium had covered the first portion of coffee grounds, I did not move everything into a big container right away.
Instead, each day I added only a small amount of fresh, cooled coffee grounds.
The mycelium continued spreading into the new food.
A little more white.
Then a little more again.
I kept doing that gradually until the amount of substrate had increased.
Only then did I move it into a larger container.
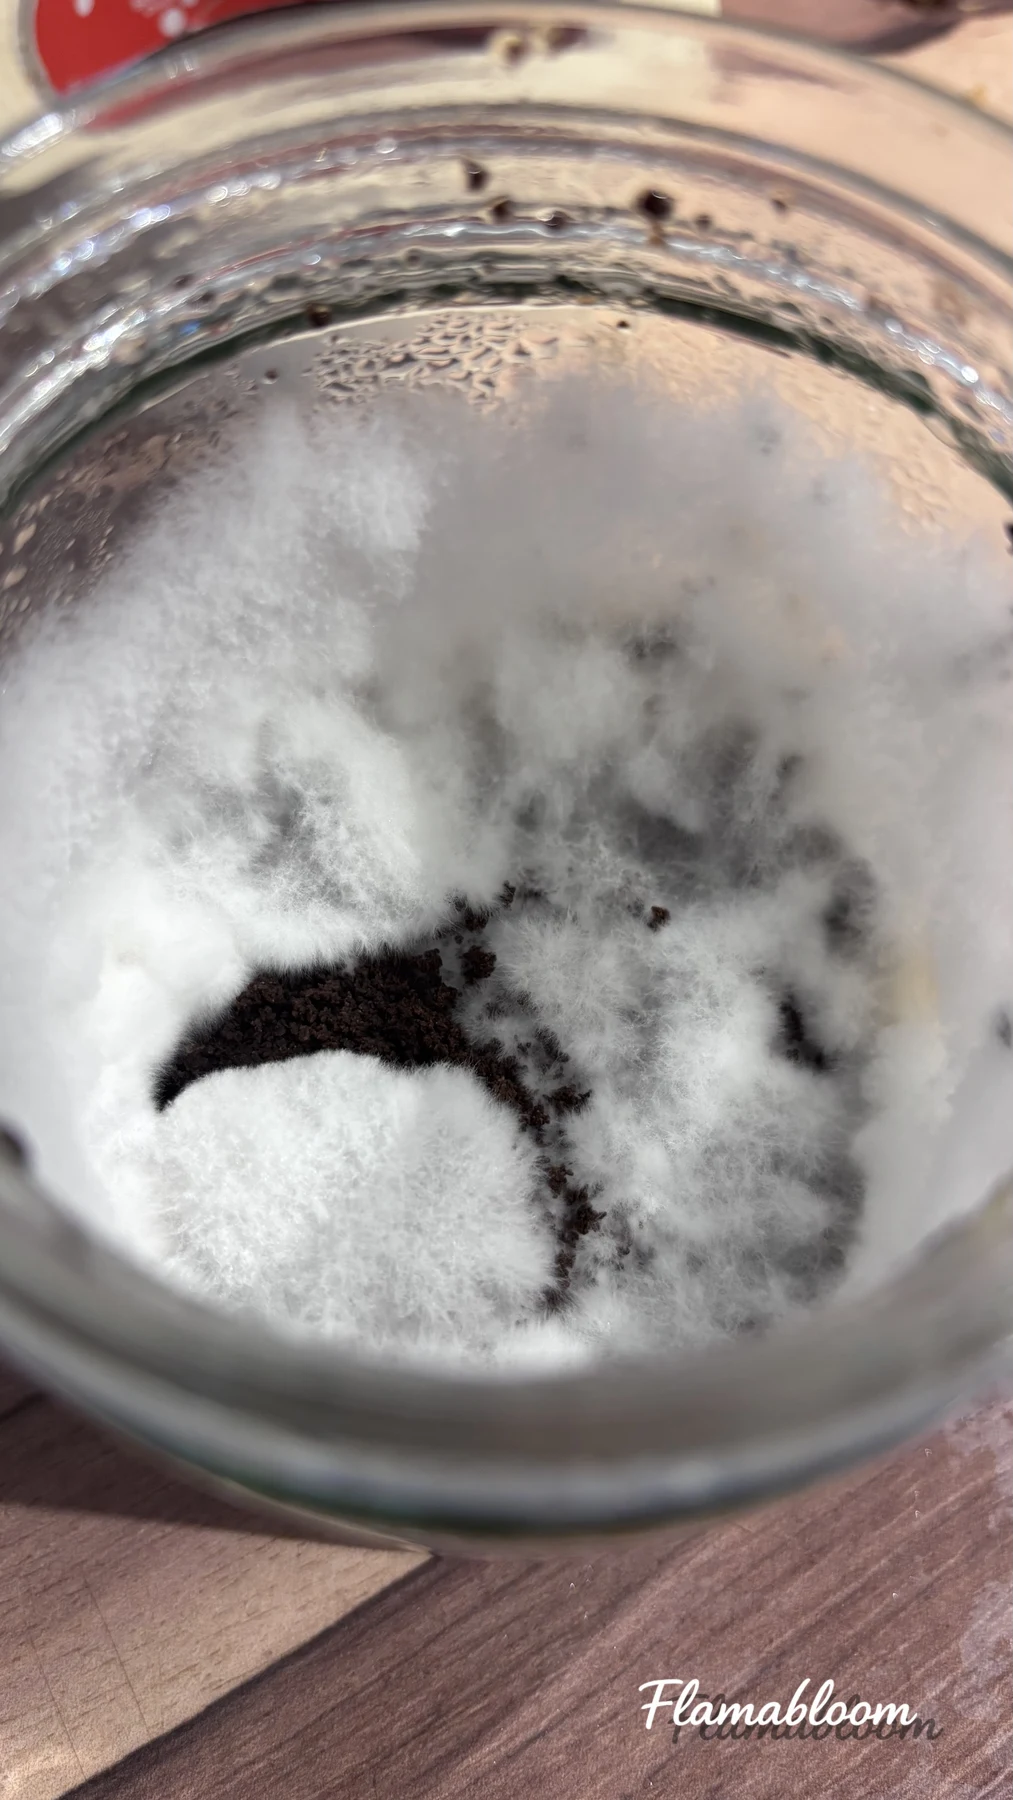
The mycelium continued growing and eventually covered the whole substrate in white.
When the container looked as if it had been covered in cotton, I knew the experiment had worked.
And then...
That was the point where I could move toward the fruiting stage.
In other words, preparing for new mushrooms to appear.
It felt strange.
All of it had started from one mushroom I bought at the supermarket.
A few small notes
From this experiment, I learned a few things that felt important.
- Keep your hands and tools as clean as possible.
- The faster you work after cutting the inner stem, the better the chance of success.
- Use only very fresh coffee grounds that have cooled down.
- Do not add too much substrate at the beginning. Feeding it little by little helps the mycelium stay stronger and makes it easier to observe.
And most importantly, be patient.
Mushrooms do not like being rushed.
An interesting experiment, but not the best method
After this experiment, I realized something interesting.
It is completely possible to start new mycelium from a mushroom bought at the supermarket.
And watching those first strands of mycelium spread through coffee grounds felt very special.
But after trying more methods later, I also noticed the limits of this approach.
Compared with using mushroom spawn propagated on corn grains or spawn propagated on wheat grains, taking tissue directly from a supermarket mushroom has a few clear disadvantages.
The first is that the waiting time is much longer.
The mycelium grows more slowly and needs more time before it covers the substrate and moves toward fruiting.
The second is that the yield was also noticeably smaller.
I also tried taking the mycelium that had grown on coffee grounds and using it to propagate new batches.
The result was failure.
The mycelium was no longer strong enough to keep growing the way I hoped.
Maybe that is also why professional spawn producers usually begin with strong strains, grow them under sterile conditions, and then propagate them on corn or wheat grains before selling them to growers.
If your goal is to harvest more mushrooms, more reliably, and with less waiting, I still think it is worth buying good-quality spawn from a trusted producer.
But if you are a little like me...
Curious.
Fond of small experiments.
Interested in watching something that seems unlikely become real.
Then this is still a very worthwhile experiment to try.
Maybe from one quiet mushroom sitting on a supermarket shelf, you might also begin a new path into the world of tiny white mycelium threads.