From one spawn jar to many grain jars: my first try propagating mushrooms on corn
Notes from my first attempt to buy mushroom spawn in Germany, then propagate it on corn kernels for future growing batches.
- Author
- FlamaBloom
- Published
- July 16, 2026
- Updated
- July 16, 2026
- Reading time
- 9 min read
Why I did not grow them right away
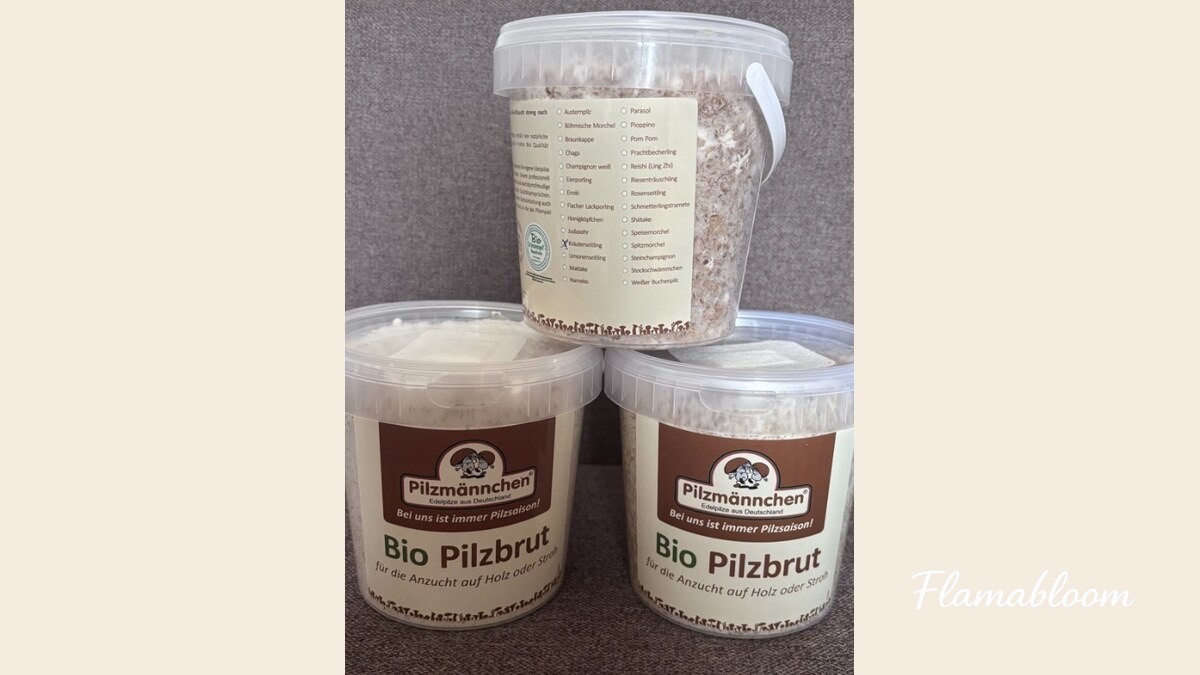
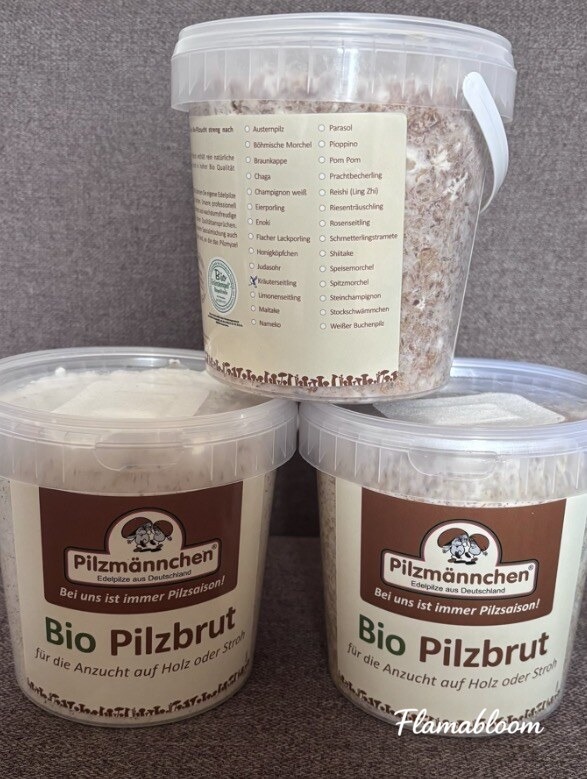
When I first started, I bought three containers of mushroom spawn on substrate from Pilzmännchen in Germany.
The three types I chose were:
- King oyster mushroom
- Grey oyster mushroom
- Golden oyster mushroom, also called Limonenseitling in German
At the time I bought them, each one cost around 20 euros. That number is only a note from this purchase, because prices and sources can change.
I could have mixed these spawn containers directly into straw, sawdust, or another suitable substrate and waited for the mushrooms to grow. But if I used them all, I would need to buy new spawn for the next batch.
So before using them for fruiting, I decided to try propagating them myself.
The idea was simple enough: take a little of the original spawn, transfer it into clean prepared grain jars, and let the mycelium keep growing. From three small containers, I could make more jars of spawn for later batches.
That was the theory.
In practice, it began with a bag of dried corn, a few old jars, and quite a bit of nervous excitement.
What I used
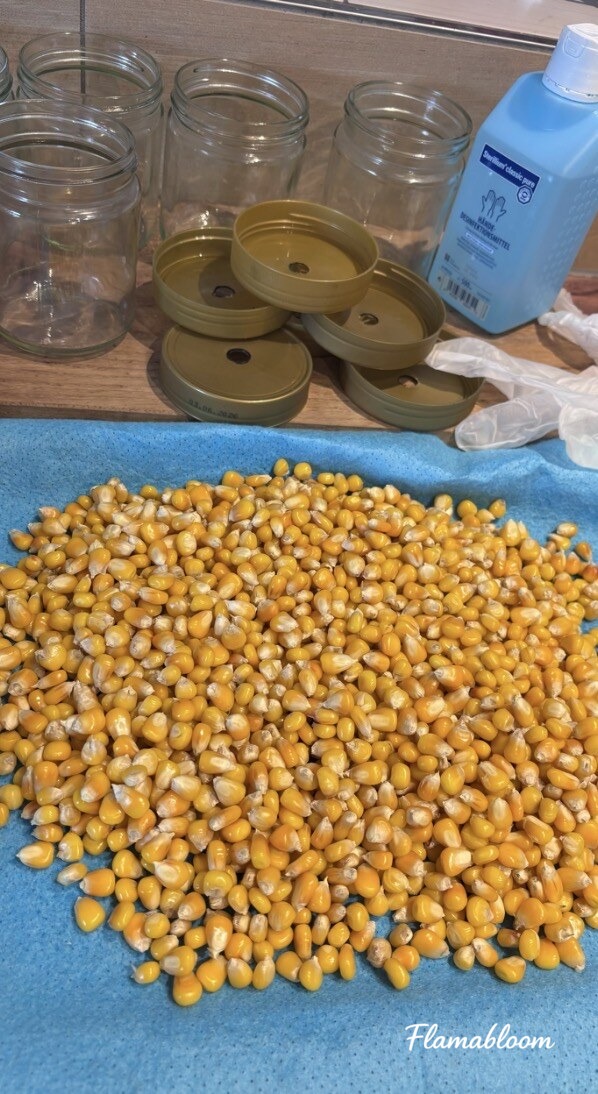
To begin, I prepared:
- Dried corn kernels.
- Glass jars with lids, such as old jam or honey jars.
- Jar lids with a small hole made in them.
- Cotton or filter tape for gas exchange.
- A large pot with a lid.
- A towel for the bottom of the pot.
- Disinfectant.
- Gloves.
- A clean spoon.
- The original mushroom spawn.
A pressure cooker would be better because it can treat the grain at a higher temperature. For this first attempt, though, I used a regular pot with a tight lid.
This was a home experiment, not a laboratory process. A regular pot can reduce many microorganisms, but it does not guarantee sterilization the way a pressure cooker can. That means the risk of mold or bacterial contamination is higher.
Soaking the kernels overnight
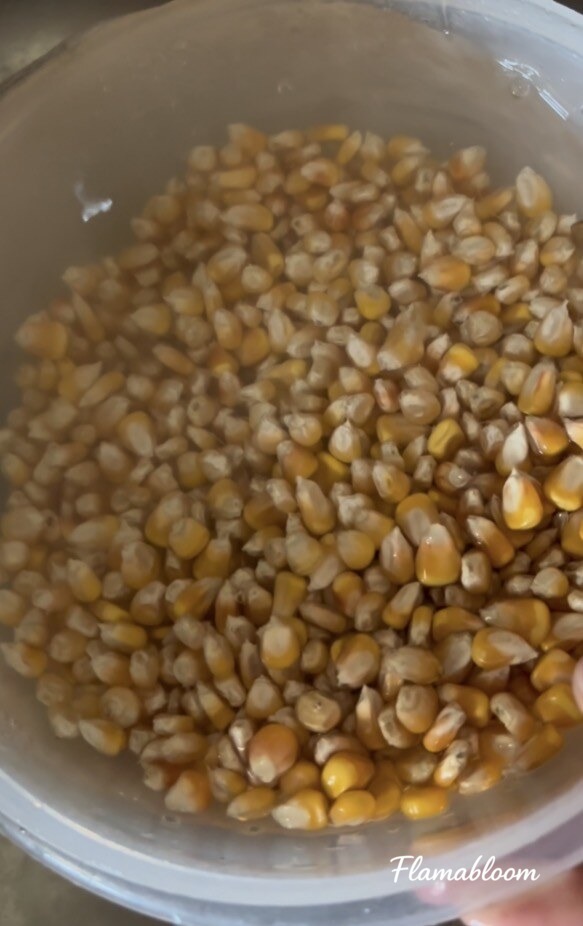
I soaked the corn kernels in water for at least eight hours, usually overnight.
During that time, the kernels absorbed water and became larger. This step matters because the inside of each kernel should not stay too dry and hard if mycelium is going to grow through it later.
The next day, I rinsed the corn several times.
At first, the water was quite cloudy from dust and small bits clinging to the kernels. I kept rinsing until the water looked relatively clear.
It was a simple task, but a surprisingly pleasant one. The corn slowly became cleaner, yellower, and fuller, as if it were getting ready for a completely different purpose than the one it was grown for.
Simmering just enough
After rinsing, I put the corn into a pot and simmered it for about ten minutes on low heat.
The goal was not to cook the corn until fully soft.
If the kernels become too soft or burst open, they can stick together, hold too much water, and create better conditions for bacteria. I only wanted the inside to soften while the outside still kept its shape and firmness.
After about ten minutes, I took out a few kernels to check them.
When I split them open, the inside had softened but the kernels were not mushy. For this batch of corn, that timing was enough.
Different corn can behave a little differently, so I think it is better to observe the kernels instead of trusting the clock alone.
Drying the surface
After simmering, I poured the corn onto a clean towel and let it drain for about thirty minutes to an hour.
The kernels should be moist inside but relatively dry outside.
If the outside still holds too much water, the kernels stick together and liquid can collect at the bottom of the jar. If they are too dry, the mycelium may struggle to grow.
I checked by holding a few kernels in my hand. When the surface no longer felt visibly wet, but the inside was still soft when split open, I considered them ready.
Preparing the jars
I reused old jam and honey jars.
The jars were washed, sprayed with disinfectant, and left to dry before I added the corn. I did not fill them all the way up, because I wanted space to shake them later and distribute the spawn more evenly.
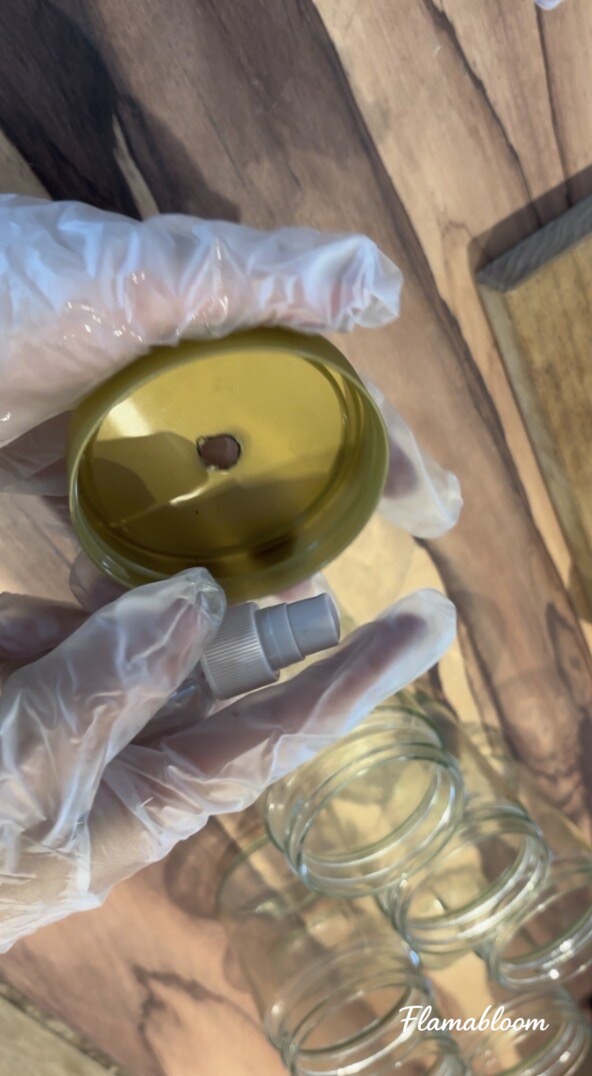
On each jar lid, I made a small hole and pushed cotton into it.
The hole has two purposes.
It allows gas exchange while the mycelium grows, and it also helps keep dust and droplets from entering the jar directly. During heating, the jar is not sealed so tightly that pressure builds up inside.
The cotton or filter material needs to stay dry and clean. If it gets wet, its ability to slow down microorganisms from outside is much weaker.
Heat-treating the jars
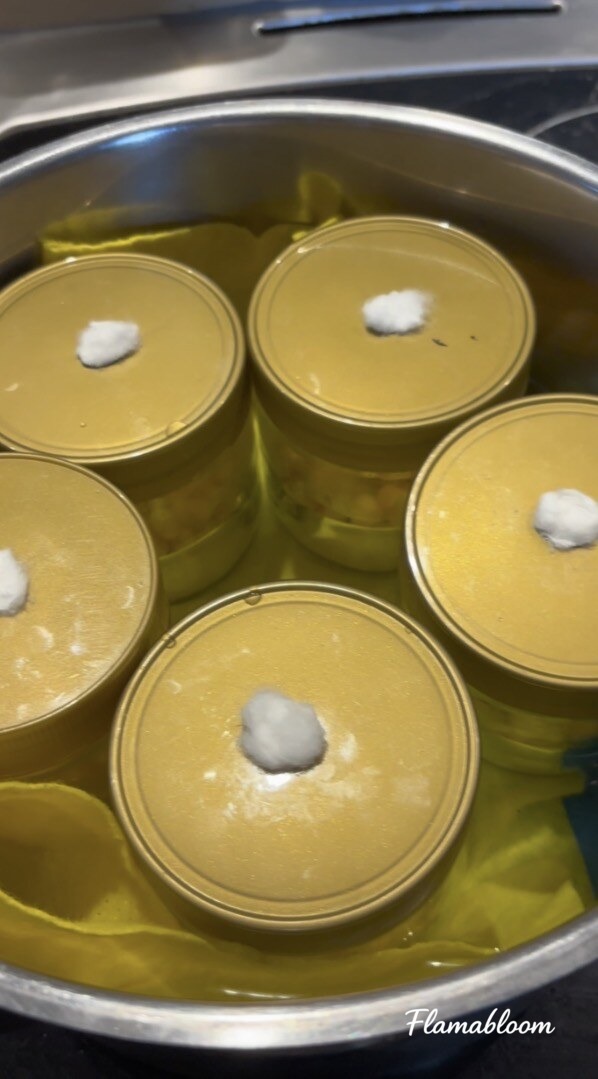
I placed a towel at the bottom of the pot so the jars would not sit directly on the hot metal.
Then I arranged the jars in the pot and added water until it reached about one third of the jar height. I put the lid on and heated everything for about one and a half to two hours.
The purpose of this step was to reduce the amount of mold, bacteria, and other microorganisms already present in the grain.
In this first attempt, my regular-pot method worked well. But that does not mean a regular pot will always be safe enough for every batch.
Nutrient-rich grains such as corn, wheat, or barley contaminate very easily. So if I have a pressure cooker available, I will choose it for future attempts.
After heating, I turned off the stove but left the jars in the pot for a while. When the temperature had dropped significantly, I took them out and let them cool completely to room temperature.
This is not a step to rush.
If spawn is added while the grain is still hot, the heat can damage or kill the mycelium.
The moment most likely to contaminate
Once the jars had cooled completely, I prepared a clean work area.
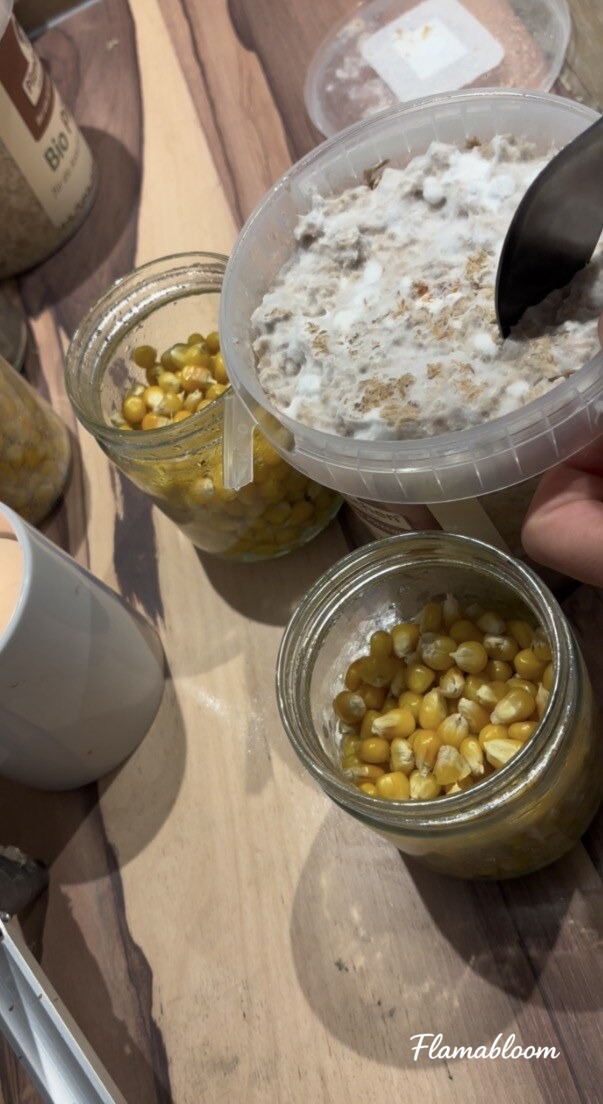
I wiped and sprayed the table with disinfectant, cleaned my hands, put on gloves, and prepared a disinfected spoon.
From the moment a jar is opened, every movement needs to be quick but not frantic.
I opened the original spawn container, scooped out a few spoonfuls of spawn, and added them to the corn jar. Then I closed the lid again as soon as possible.
I shook the jar gently so the spawn pieces would spread through the corn.
This was the moment when I felt most clearly that growing mushrooms is not quite like gardening outside. With plants, a little fallen soil or a dry leaf is usually not a big problem. But in a jar full of nutritious grain, even a tiny amount of mold spores or bacteria can take over the whole batch before the mycelium has time to grow.
So cleanliness is not a side detail.
It is almost the whole game.
Labeling and waiting
After inoculating the jars, I labeled each one.
On the label, I wrote:
- Mushroom species
- Grain type
- Inoculation date
When several jars look almost the same, this little note saves me from guessing which one is king oyster, which one is grey oyster, and which one is golden oyster.
I placed all the jars in a cardboard box, closed it, and kept it in a warm, dark spot inside the house.
For the first batch, I used a temperature of about 20–24°C.
The jars do not need absolute darkness, but I avoided direct sunlight and places where the temperature changes sharply.
The first white threads
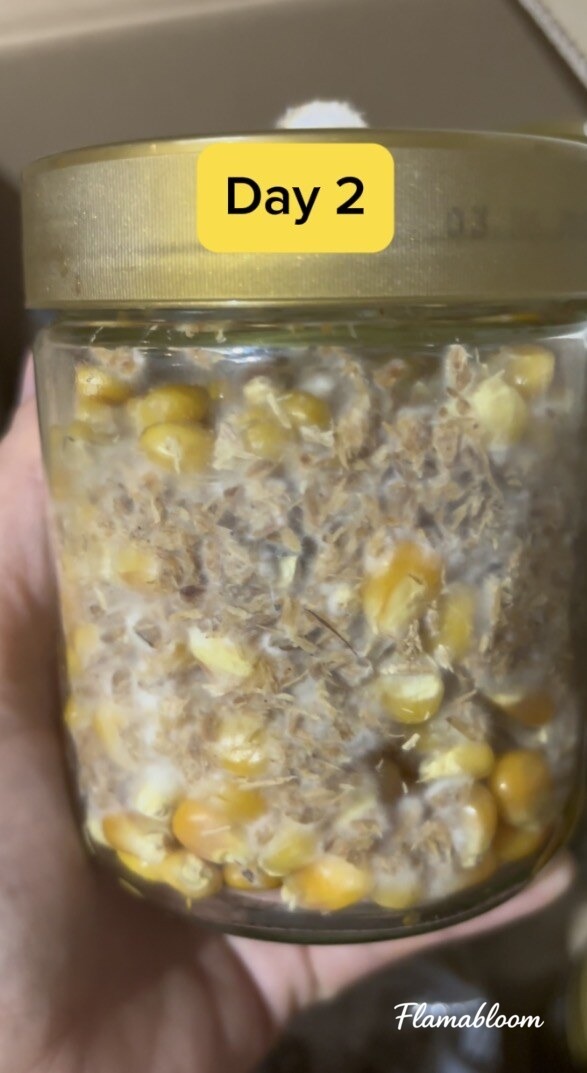
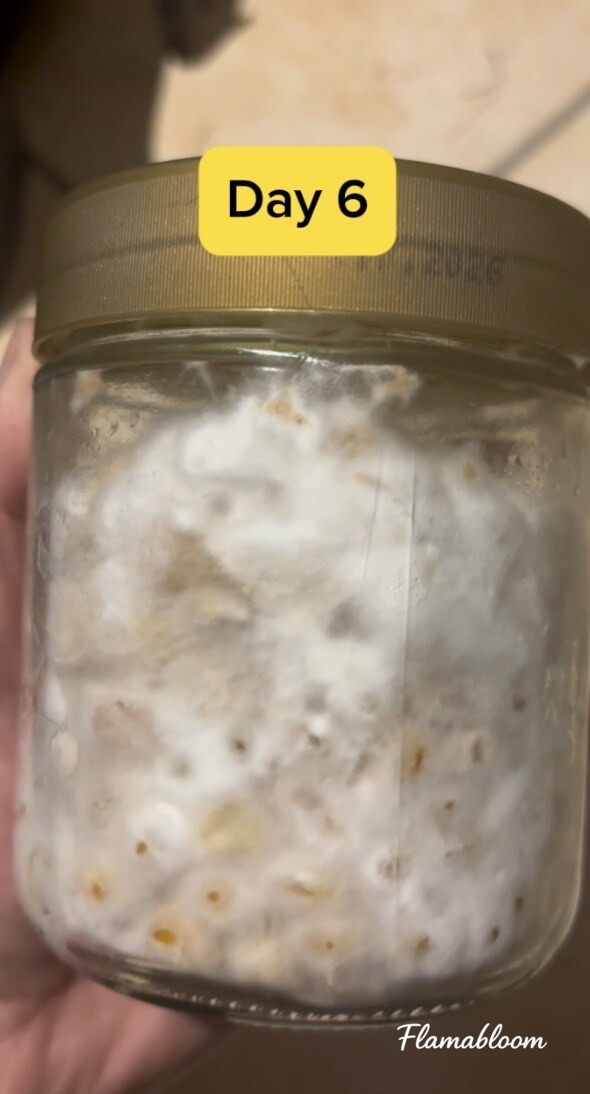
After about three days, I began to see white mycelium growing around the original spawn pieces and spreading to the nearby corn kernels.
In some jars, the mycelium grew very quickly and formed clear white patches. Day by day, the small patches connected and spread further.
It was a very particular feeling.
From the outside, the jar looked almost unchanged. But inside, a living network was quietly taking over each kernel of corn.
After about a week, the fastest jars could already be used for the next substrate batch. Still, I checked carefully to see whether the kernels were colonized enough, whether there was any unusual smell, and whether any strange colors had appeared.
The actual growth time can be longer, depending on the mushroom species, the amount of starting spawn, the temperature, the moisture in the grain, and how clean the preparation process was.
I kept one jar
Instead of using everything, I chose to keep the healthiest jar.
It was the jar with white mycelium, even growth, no standing water, and no suspicious green, black, pink, or orange patches.
From that jar, I can continue propagating into a new batch of grain.
In this way, a little of the original spawn can be expanded over several transfers. But I do not see continuous propagation as endless. The more generations I transfer, the higher the risk of contamination and quality loss becomes.
So I still keep part of the original spawn as a backup source and write down each transfer clearly.
Signs that make me stop
Healthy mycelium is usually white and has a pleasant smell, something like fresh mushrooms or a lightly damp forest.
I will not use a jar if I see:
- Green, black, or unusual colored patches spreading quickly
- Slimy kernels
- A lot of liquid collecting at the bottom
- Sour, rotten, or unpleasant smells
- Mycelium that stops growing for a long time
- A swollen, leaking, or otherwise abnormal jar
When I am unsure, I do not open the jar near healthy mushroom batches. A contaminated jar can release a lot of spores into the air.
A small step before growing mushrooms
Propagating on grain does not produce mushrooms to harvest.
It is only preparation.
But for me, it is one of the most interesting stages. From one spawn container bought in Germany, I made several grain jars for future batches of king oyster, grey oyster, and golden oyster mushrooms.
I saved some cost, but more importantly, I began to understand better how mycelium grows, how moisture affects the grain, and why a tiny step can decide the whole batch.
Each spawn jar feels like an invisible garden.
No caps yet, no harvest yet, only white threads quietly preparing for the next stage.
Watch the process
You can see more of how I prepared the grain, treated the jars, and transferred the spawn on FlamaBloom’s channels: