Propagating F2 mushroom spawn on wheat grains
Notes from the time I used a healthy grain spawn jar to make new F2 mushroom spawn on wheat grains, from soaking and sterilizing to waiting for white mycelium.
- Author
- FlamaBloom
- Published
- July 22, 2026
- Updated
- July 22, 2026
- Reading time
- 9 min read
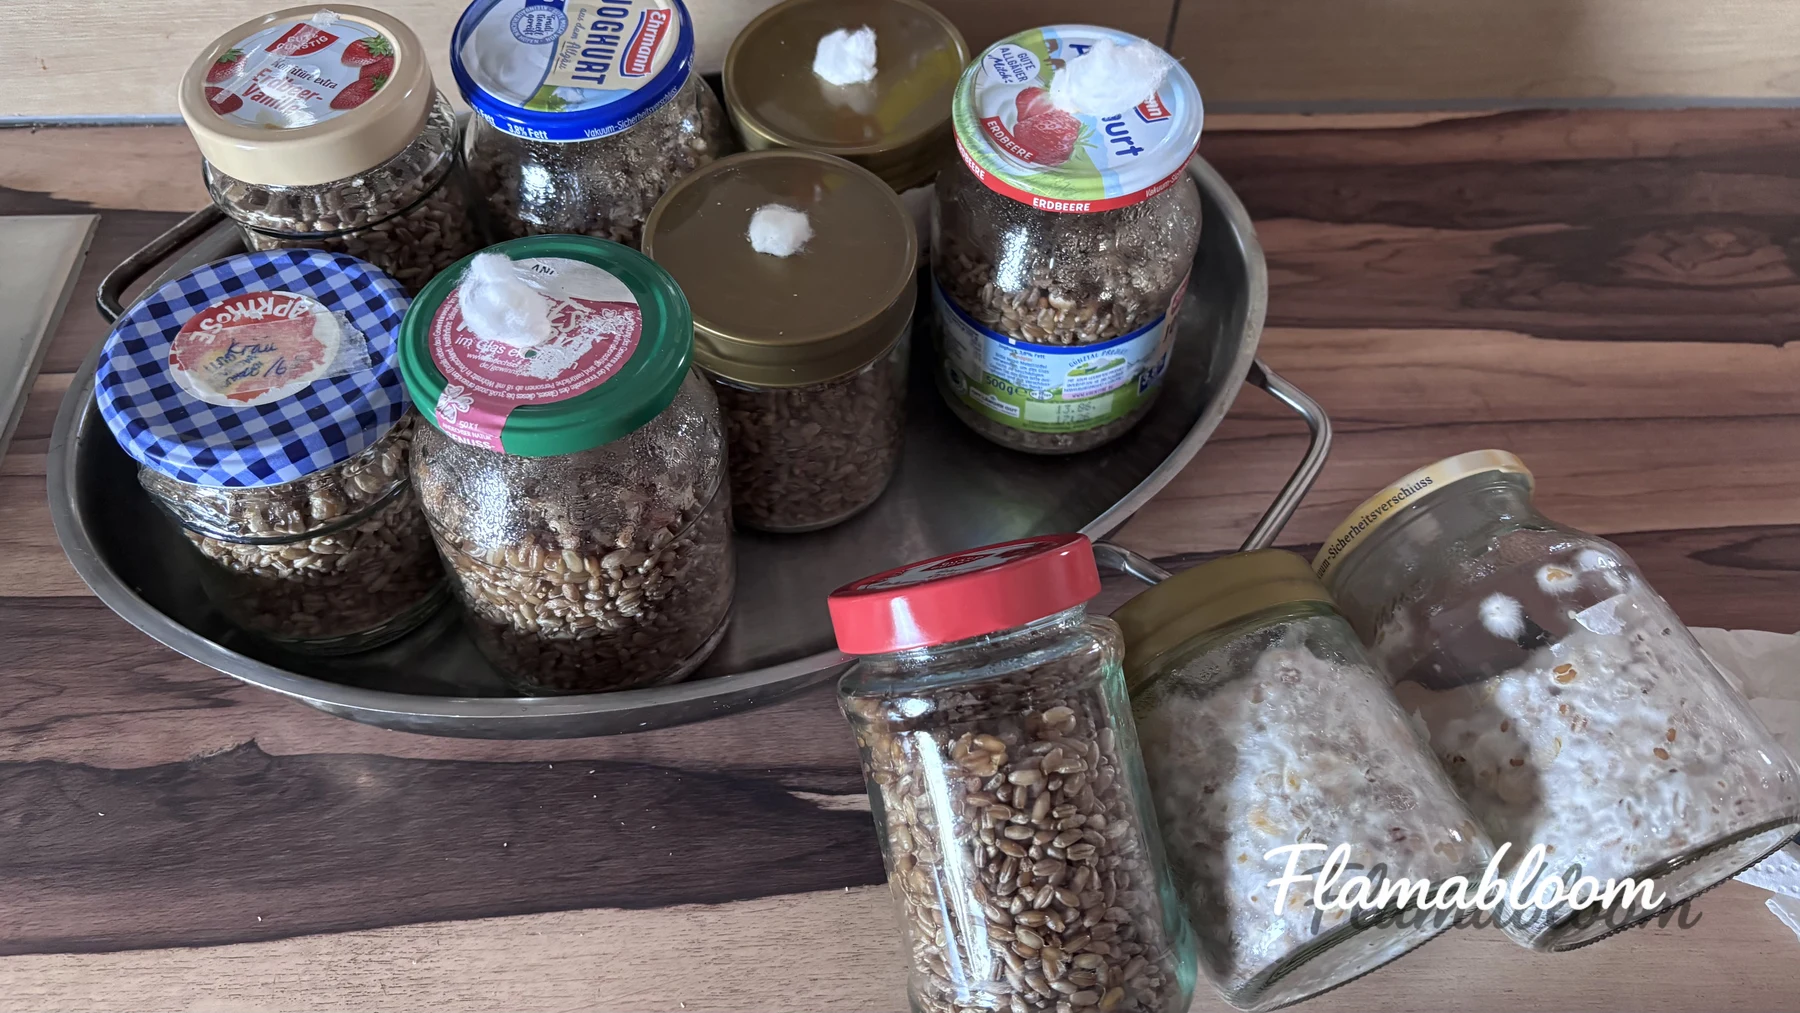
After successfully propagating mushroom spawn on corn, I started thinking about the next step:
If I already have one healthy jar of spawn, why not use it to make more jars?
I wrote about that first attempt in my article about mushroom spawn on corn. This post is the next little chapter of the same story: this time I tried propagating it on wheat grains.
In my simple way of naming things, this is F2 mushroom spawn: new spawn made from a healthy jar of grain spawn that had already grown well.
The method is quite similar to the corn version. The difference is that wheat grains are smaller, hold moisture well, and in my jars they were colonized very quickly by the mycelium.
It sounds rather professional.
But my equipment was still just grain from the supermarket, a few glass jars, and a kitchen that needed to be cleaned a little more carefully than usual.
Why I chose wheat grains
I bought organic whole wheat grains at the supermarket.
They do not have to be a product sold specifically for mushroom growing. For me, the important part is that the grains are whole, clean, and do not show mold or any strange smell.
Wheat grains are fairly small. Once they are covered in white mycelium, each grain can become a small inoculation point when mixed into substrate.
The more evenly those points are spread out, the better chance the mycelium has to move quickly.
And of course, I also like wheat because it is easy to buy.
Sometimes mushroom growing does not begin in a laboratory.
It begins in the grain aisle of a supermarket.
What I prepared
I used:
- Organic whole wheat grains.
- Glass jars with lids.
- Clean water.
- A regular pot or a pressure cooker.
- Healthy mushroom spawn that had grown on corn.
- A knife, spoon, or inoculation tool that had been sterilized.
- Alcohol for wiping the table and tools.
- Filter tape if the jar lids have air holes.
Glass jars are useful because I can watch the mycelium grow from the outside.
Every day, just walking past them is enough to check:
How much has the mushroom eaten today?
Step 1: Soaking the wheat grains
First, I soaked the grains in water for about 6-8 hours.
Overnight is fine too, if that fits the day better.
Soaking helps the grains take up water slowly. The inside softens, and dust or dirt on the surface becomes easier to wash away.
After soaking, I rinsed the grains several times with clean water.
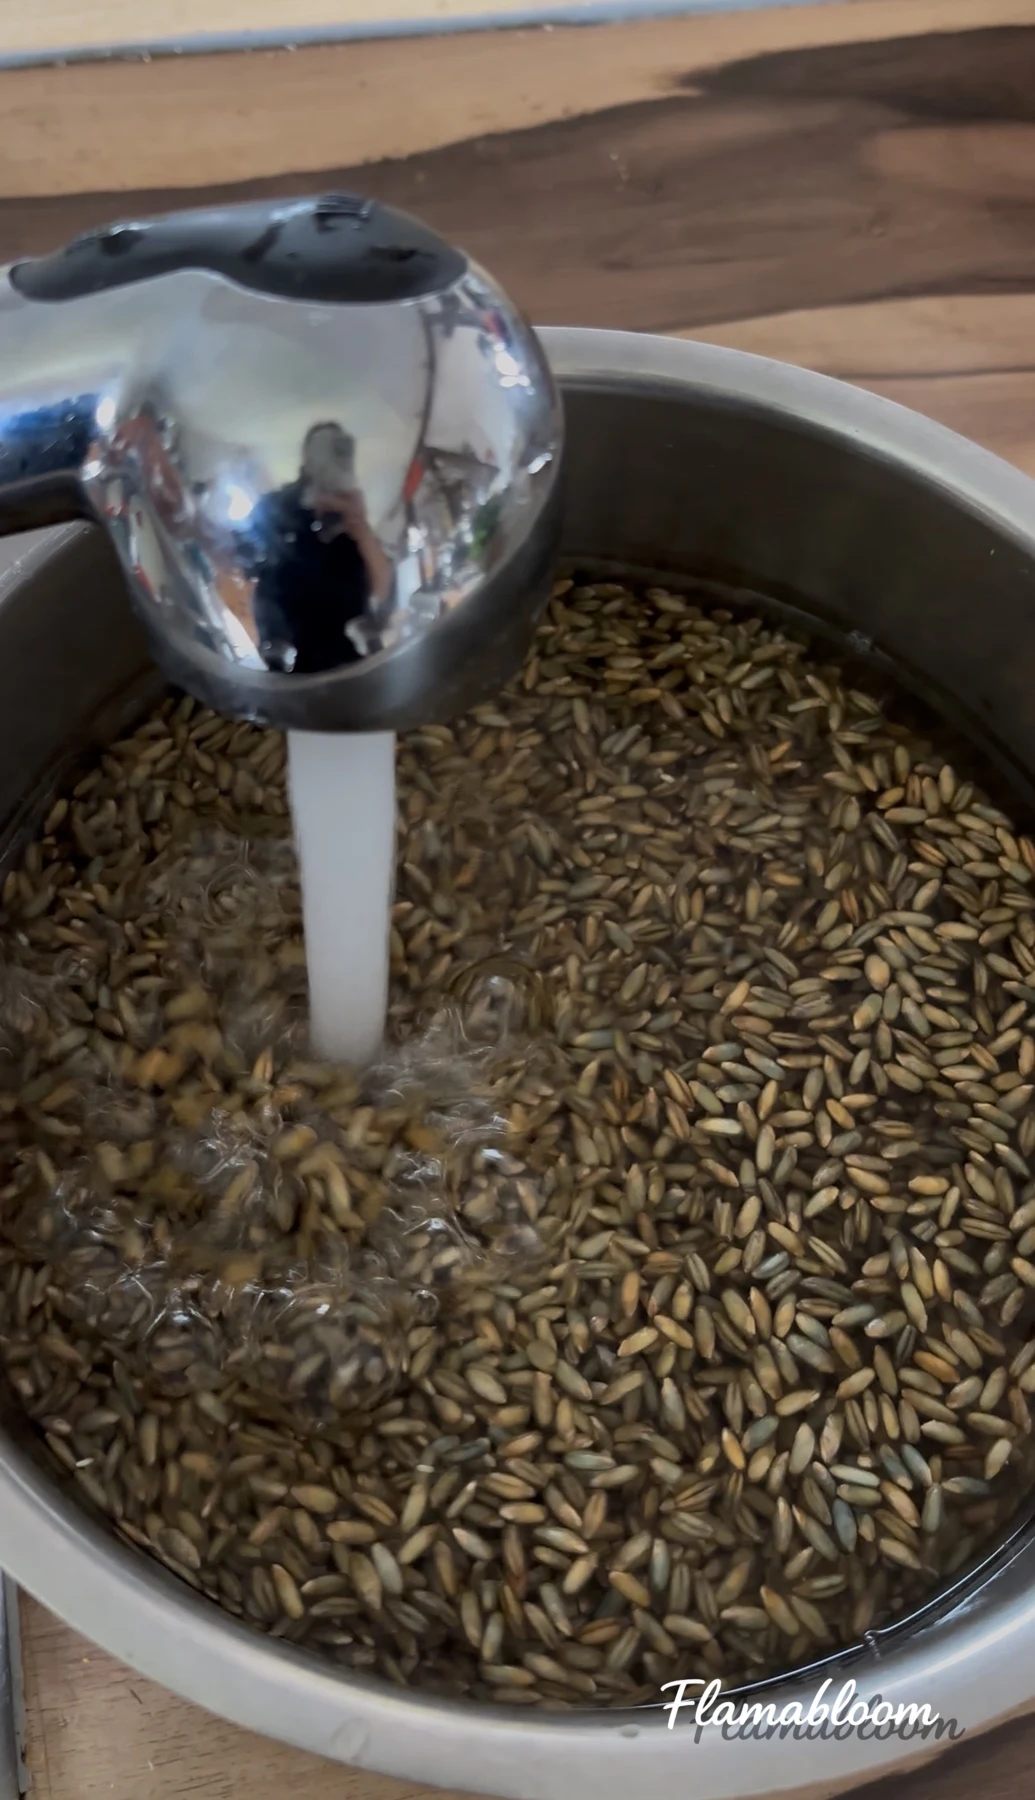
I removed any floating, broken, or suspicious-looking grains.
I do not need every grain to look ready for a beauty contest.
But at least they should be clean and show no signs of damage.
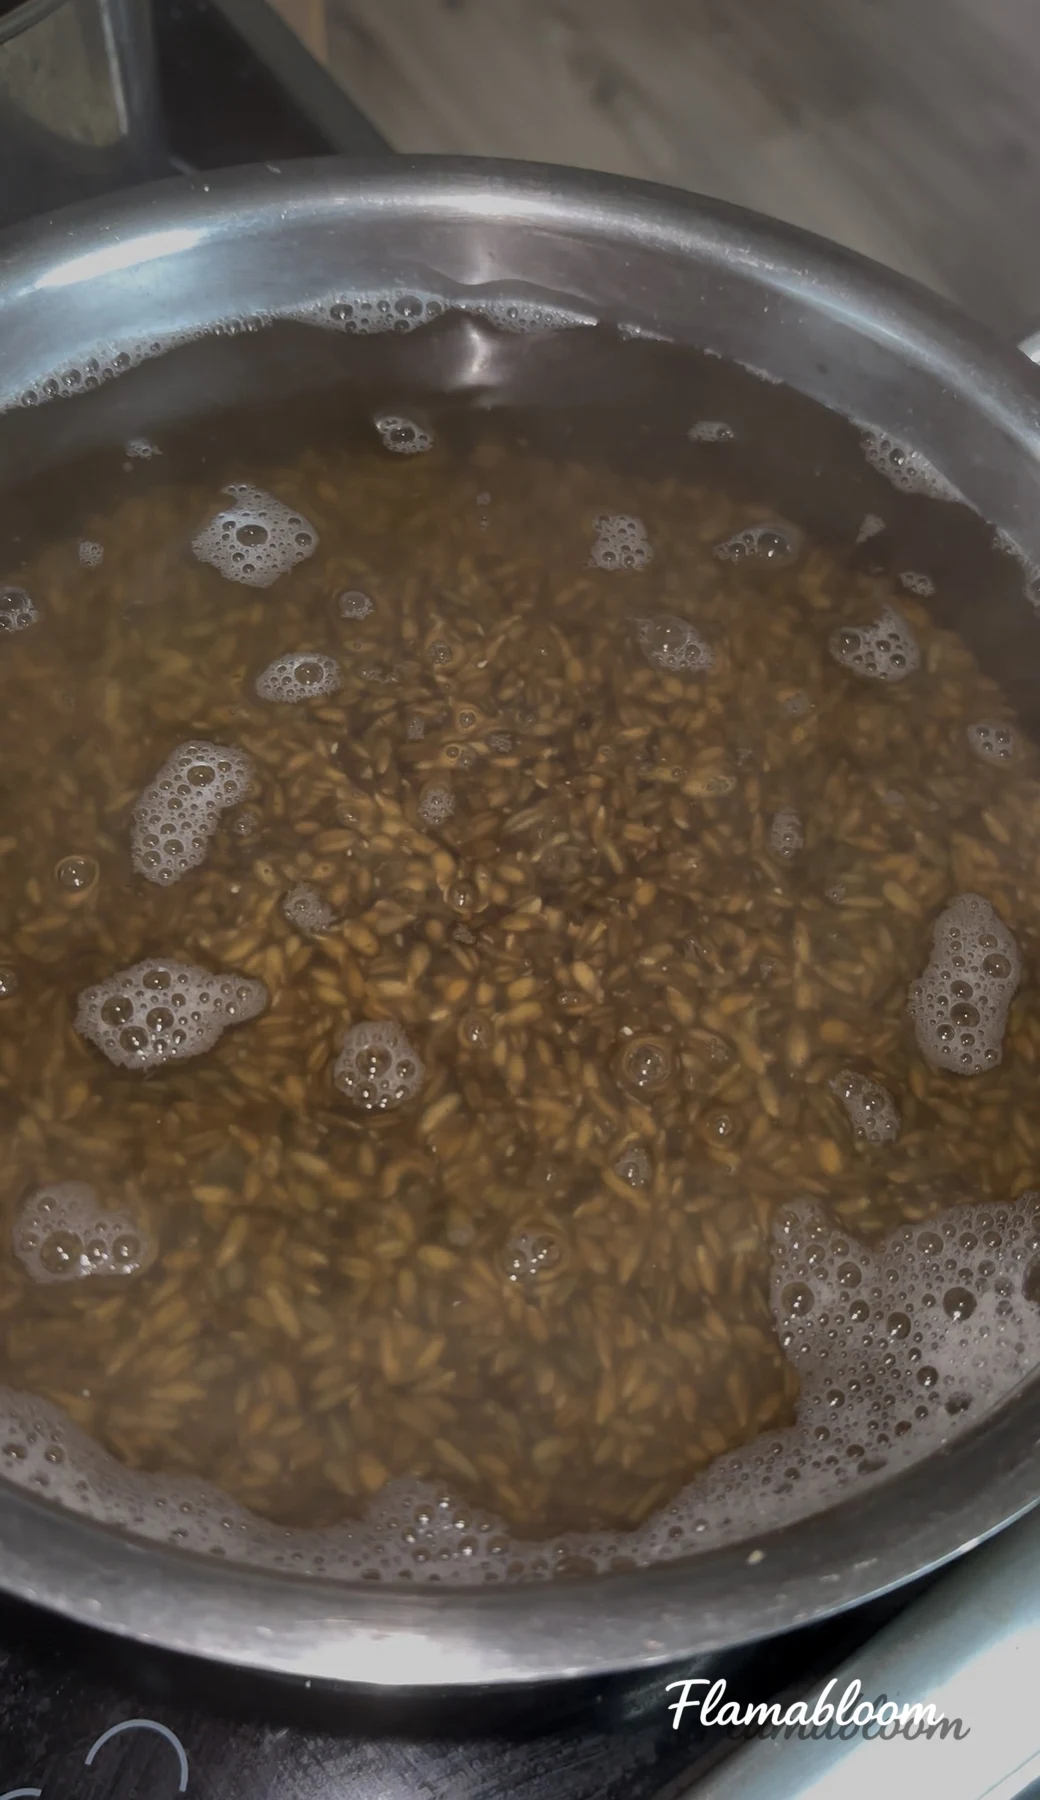
Step 2: Simmering the grains
After rinsing, I put the grains into a pot and simmered them briefly.
The goal is not to turn them into porridge.
The grains are ready when:
- The inside has softened.
- The outside is still intact and slightly firm.
- When gently pressed, they do not turn mushy or break apart in large numbers.
If they cook too long, the grains crack, stick together, and hold too much water.
A jar that is too wet is a place bacteria tend to enjoy.
The mycelium might stand at a distance and decide:
This house is too crowded. I think I will stay outside.
So when the grains were just soft enough, I turned off the heat and drained them.
Step 3: Drying the surface
This step is fairly important.
After simmering, I spread the grains onto a tray or clean towel so they could cool and drain.
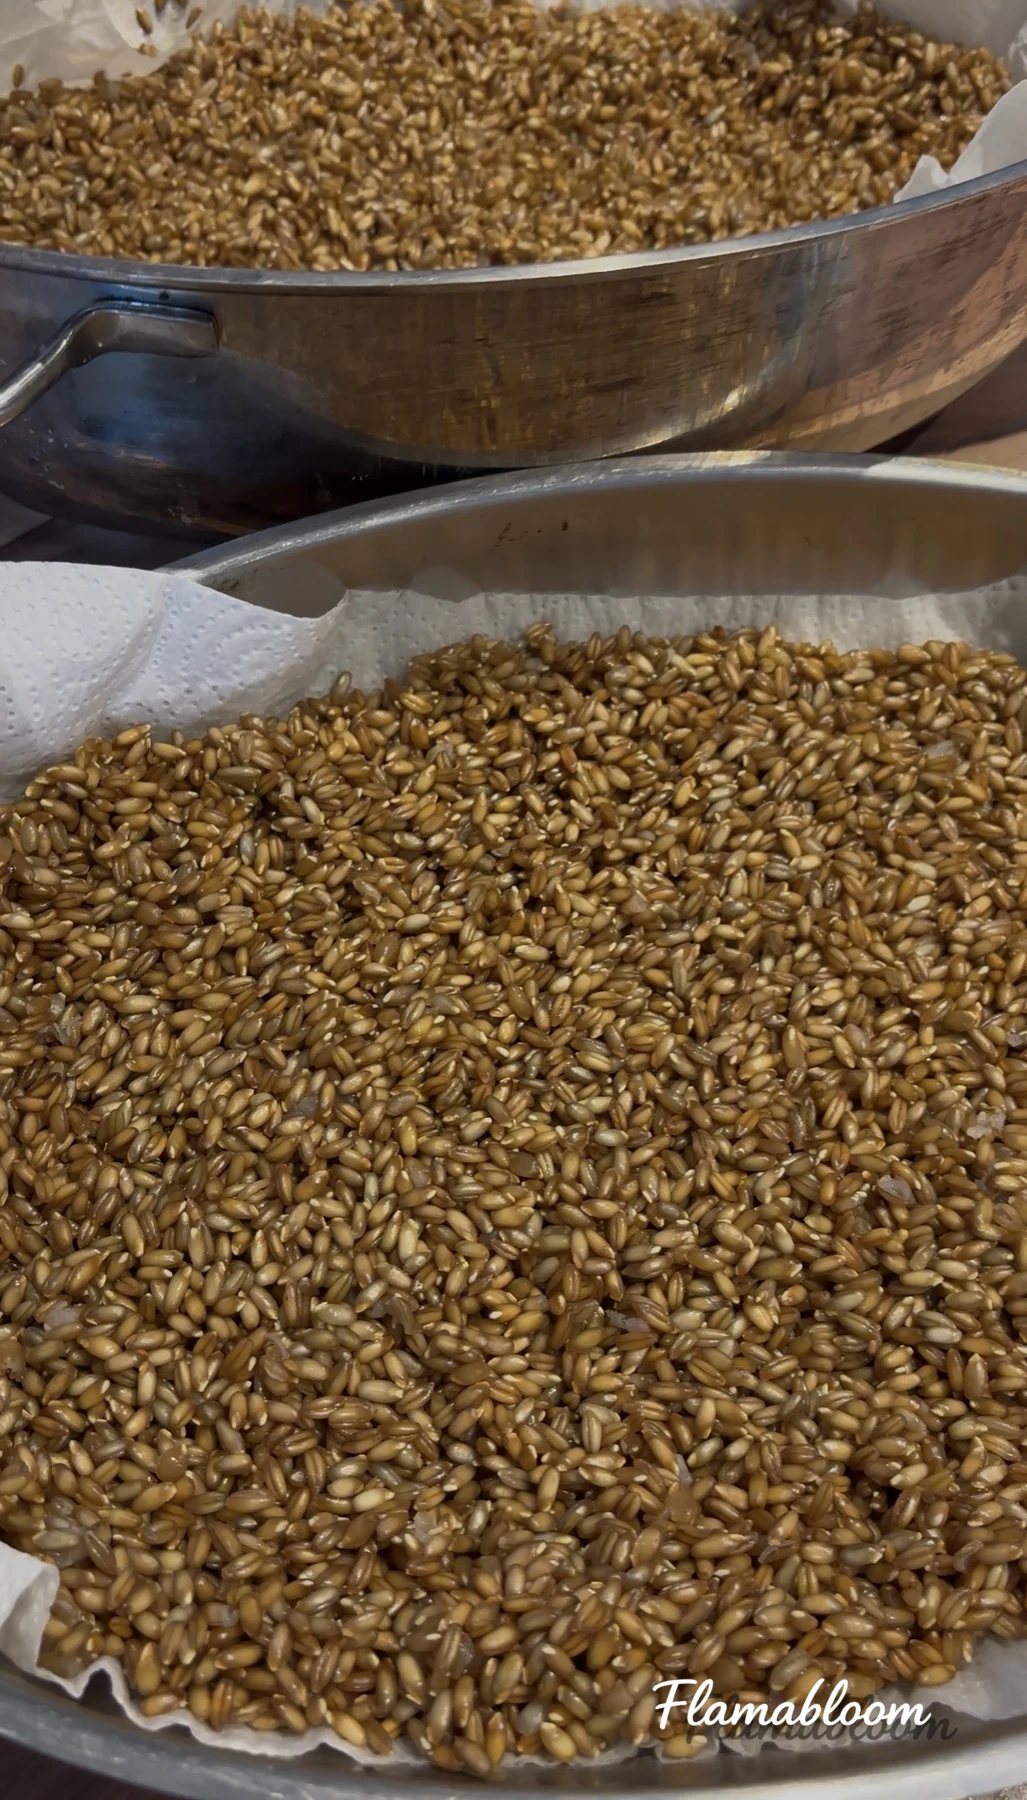
The inside of the grains needs to keep its moisture.
But the outside should be relatively dry, without running water or big sticky clumps.
I usually leave them in the air for a while and then check by hand.
If I pick up a handful and my hand does not get wet, and the grains still separate fairly well, they can go into jars.
The grains should not be completely dry.
But they also should not look as if a tiny rain shower just passed through the jar.
Step 4: Filling the jars
I put the grains into clean glass jars.
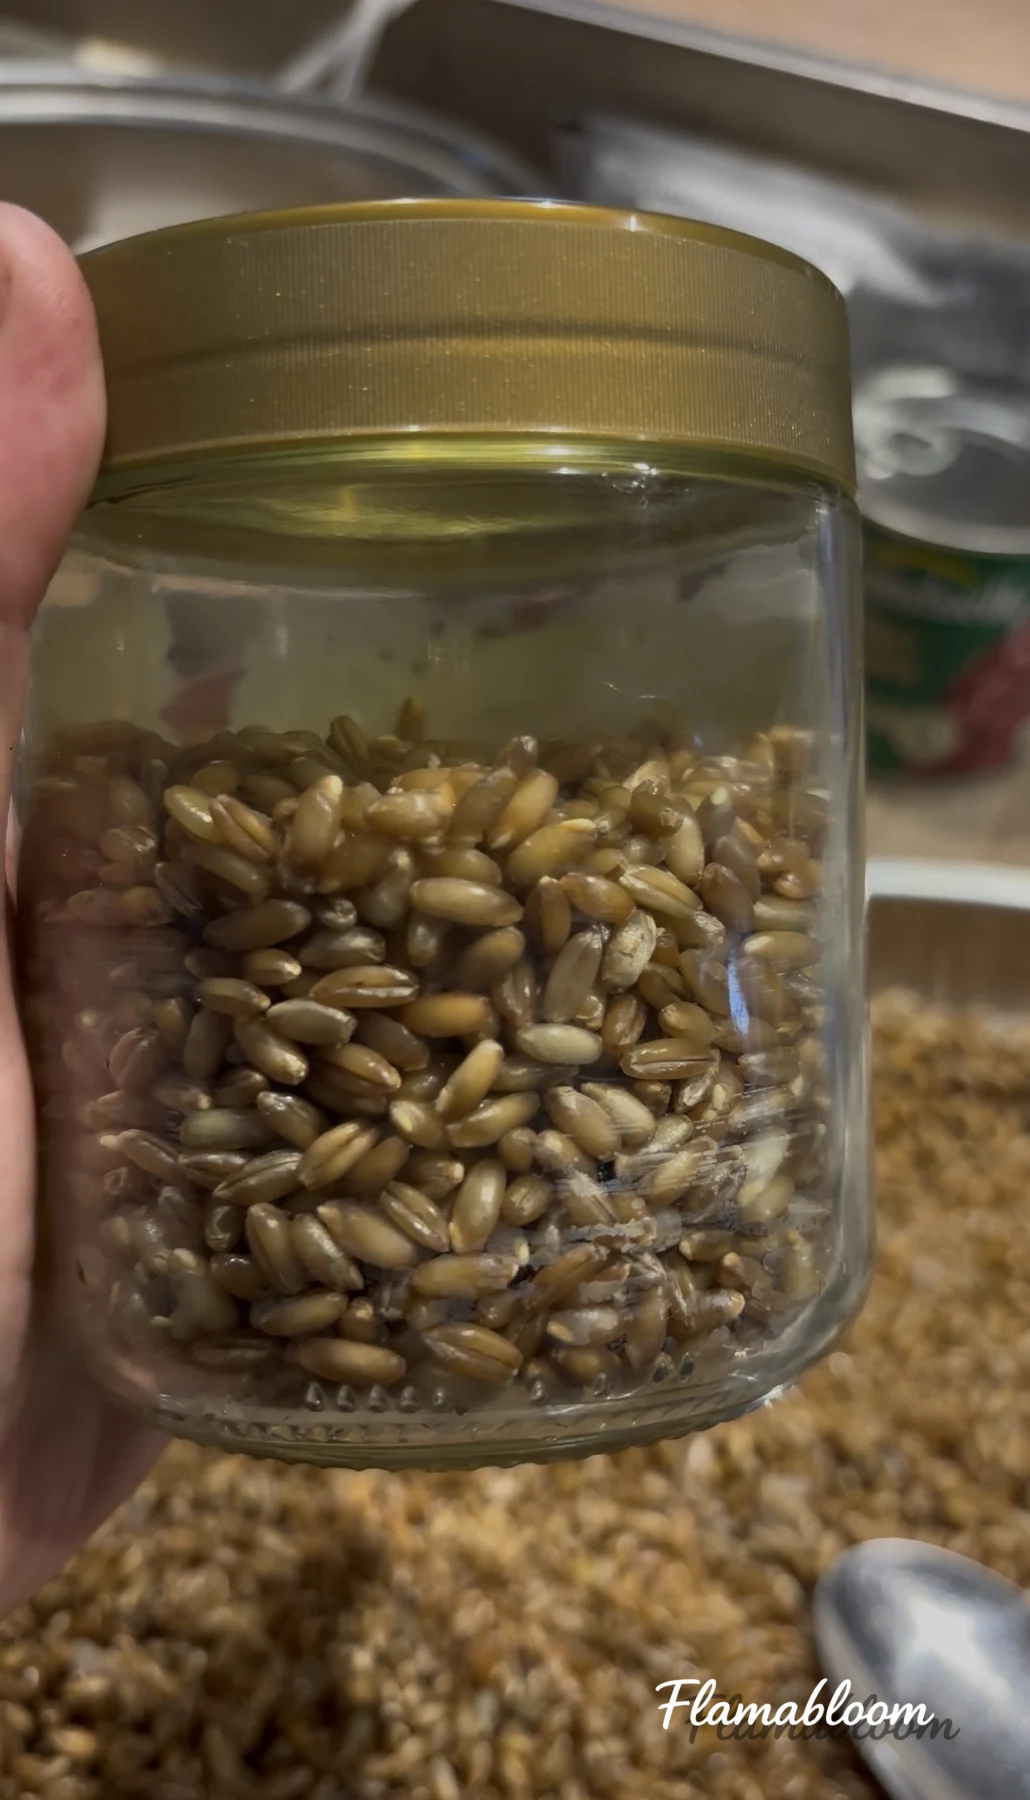
The jars should not be filled all the way to the rim.
Some empty space is needed so I can shake the jar later, helping the spawn and grains spread more evenly.
The lid should have a small hole for gas exchange, covered with filter tape.
If I do not have a special lid, I can still make a simple version, as long as air can move but dust and insects have a harder time getting in.
Step 5: Sterilizing the grain jars
After closing the lids, I placed the jars into a pot.
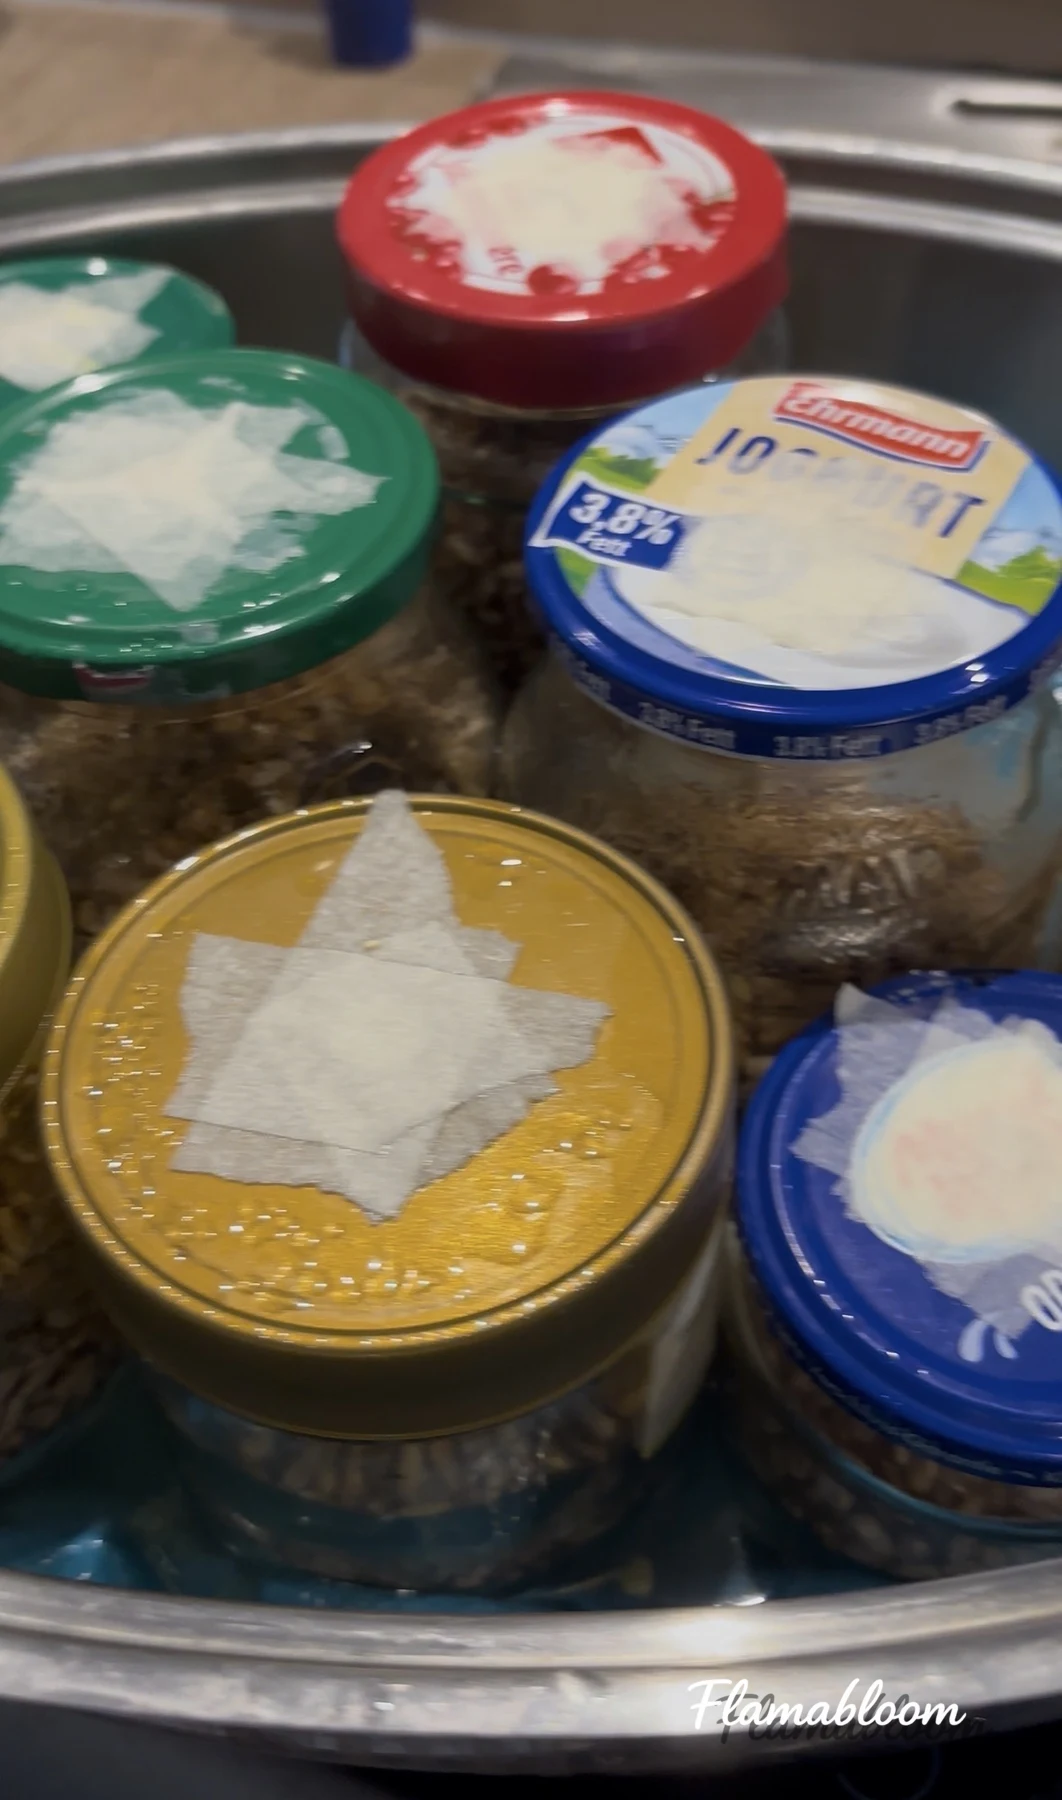
If I use a regular pot, I place a towel on the bottom so the jars do not touch the hot metal directly.
Then I heat the jars for about 90 minutes.
A pressure cooker is more effective because it can reach higher temperatures and reduce the chance that microorganisms survive inside the grains.
With a regular pot, sterilization is not as complete as it would be in a lab, so the risk of mold is higher.
But that was the equipment I had, and I accepted that sometimes a few jars would not work.
Growing mushrooms at home also means learning to stay calm around jars that suddenly turn green.
Step 6: Letting the jars cool completely
After heating, I take the jars out and leave them until the temperature inside returns to room temperature.
I do not add spawn while the grains are still hot.
Mycelium is alive.
If I put spawn into a hot jar of grains, I am not helping it move house.
I am putting it into a sauna without asking.
So I usually wait patiently.
It is best to let the jars cool completely before opening them and inoculating.
Step 7: Inoculating quickly and cleanly
This is when I clean the work area carefully.
I disinfect:
- The table surface.
- My hands.
- The inoculation tool.
- The outside of the spawn jar.
- The area around the mouth of the jar.
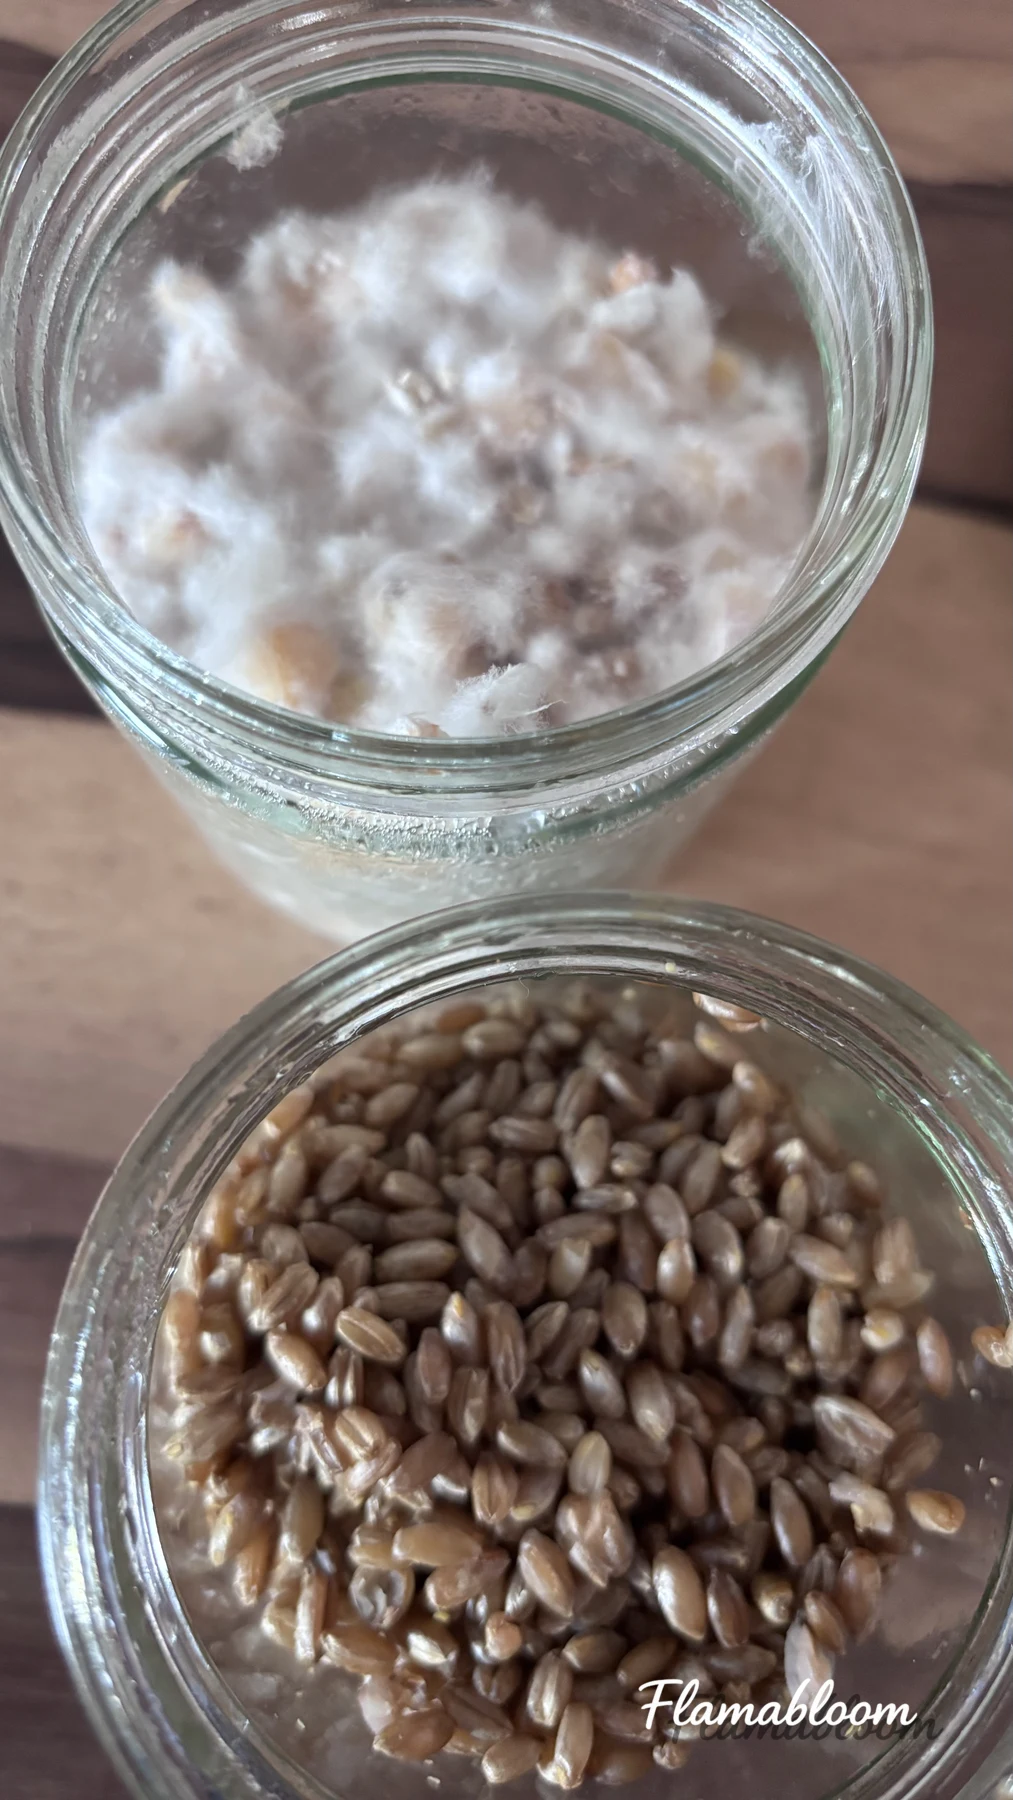
Then I open the jar of mushroom spawn on corn, take a small amount, add it to the cooled wheat grain jar, and close the lid quickly.
The faster the movement, the less time the jar is exposed to outside air.
I do not need to move so fast that I knock everything over.
But I also should not open the jar and stand there for five minutes wondering where life is going.
At this point, airborne mold is very happy to make that decision for me.
Step 8: Incubating the jars
After inoculating, I put the jars somewhere:
- Relatively dark.
- Warm.
- Away from direct sunlight.
- With a stable temperature.
During the first few days, I avoid opening or moving the jars too much.
After a while, white threads begin to appear from the original spawn grains.
They start spreading to the surrounding wheat grains.
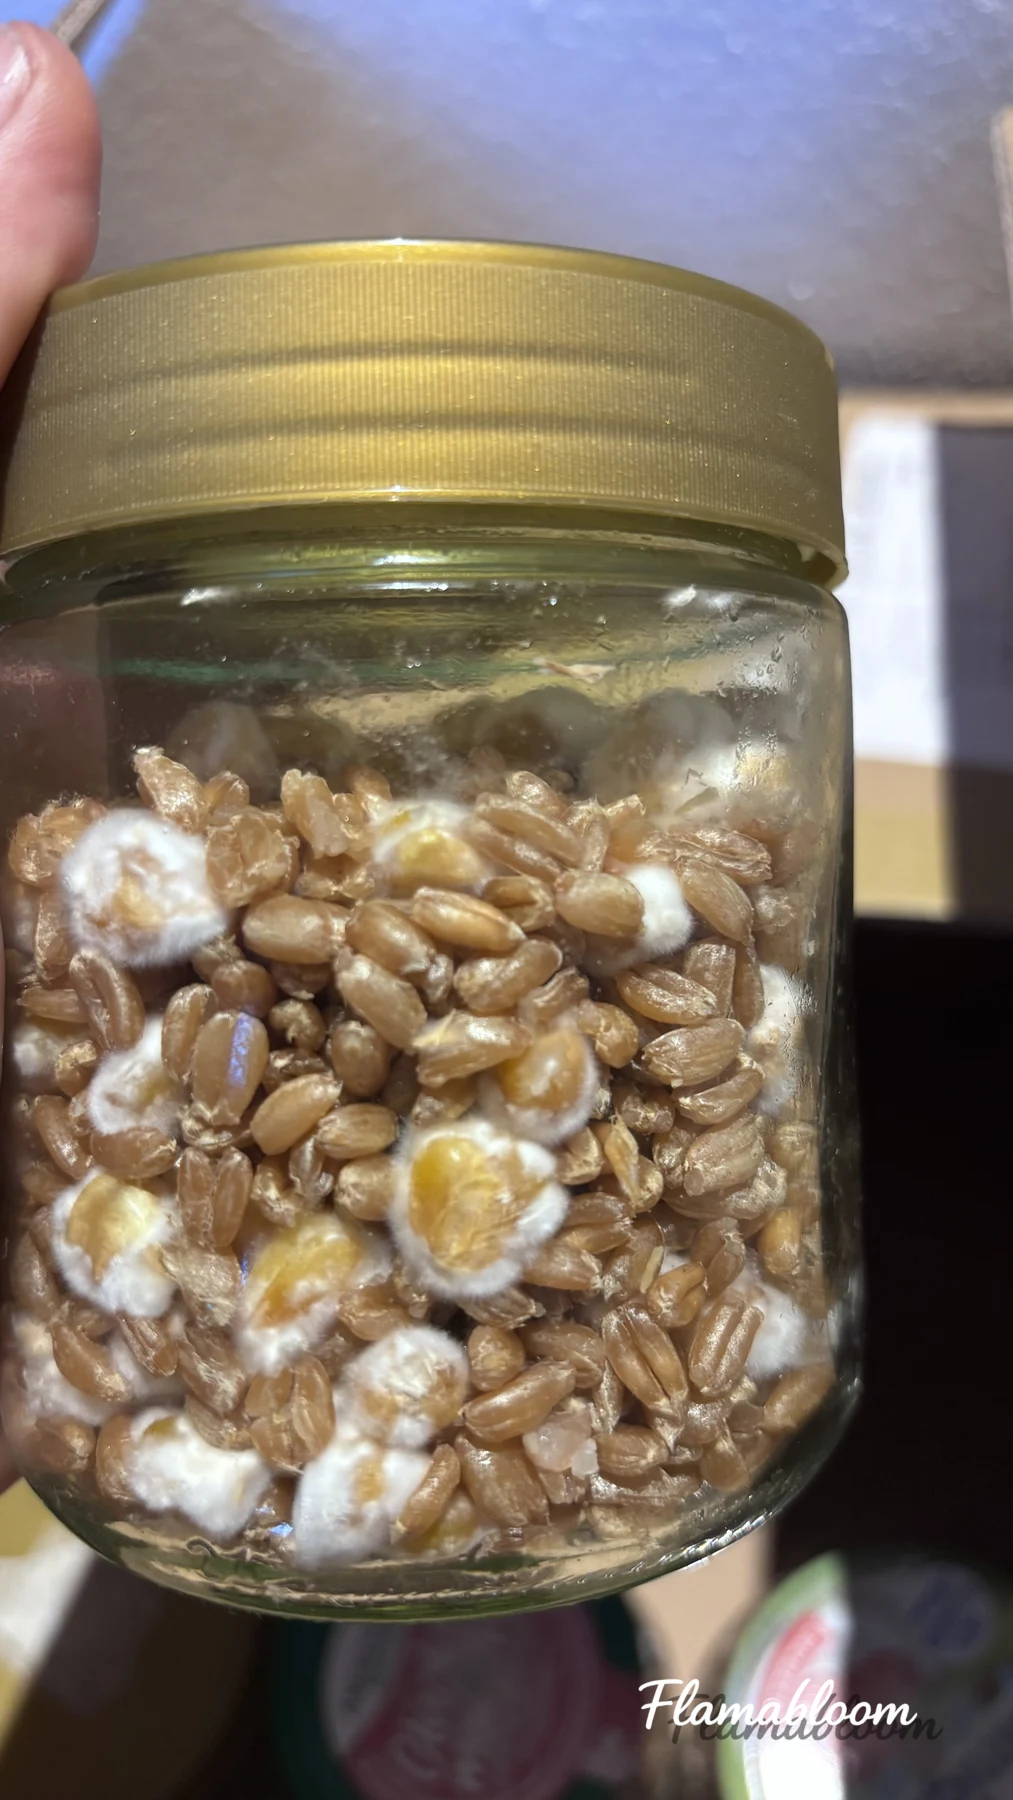
Once the mycelium has grown a little, I can gently shake the jar so the inoculated grains are distributed more evenly.
Then I put the jar back and continue waiting.
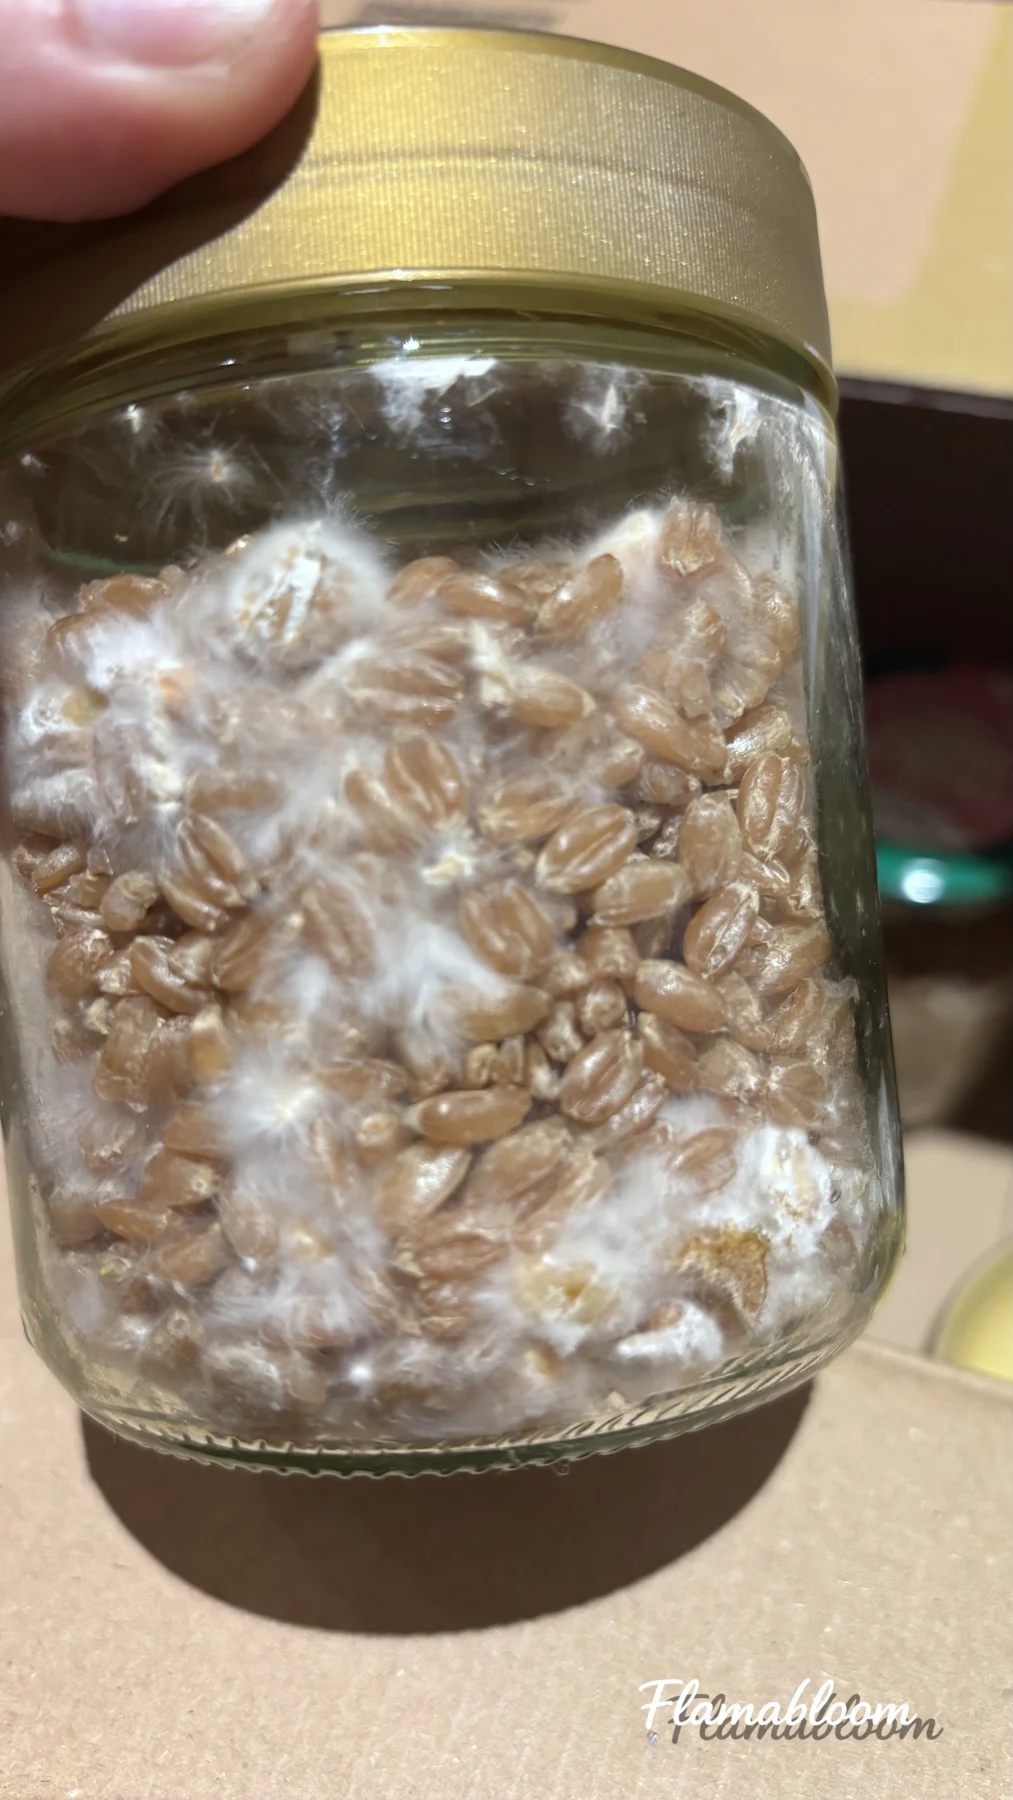
After about a week
With healthy jars and suitable conditions, after about a week I could see the mycelium spreading through almost the whole jar.
The wheat grains were gradually covered with a white layer.
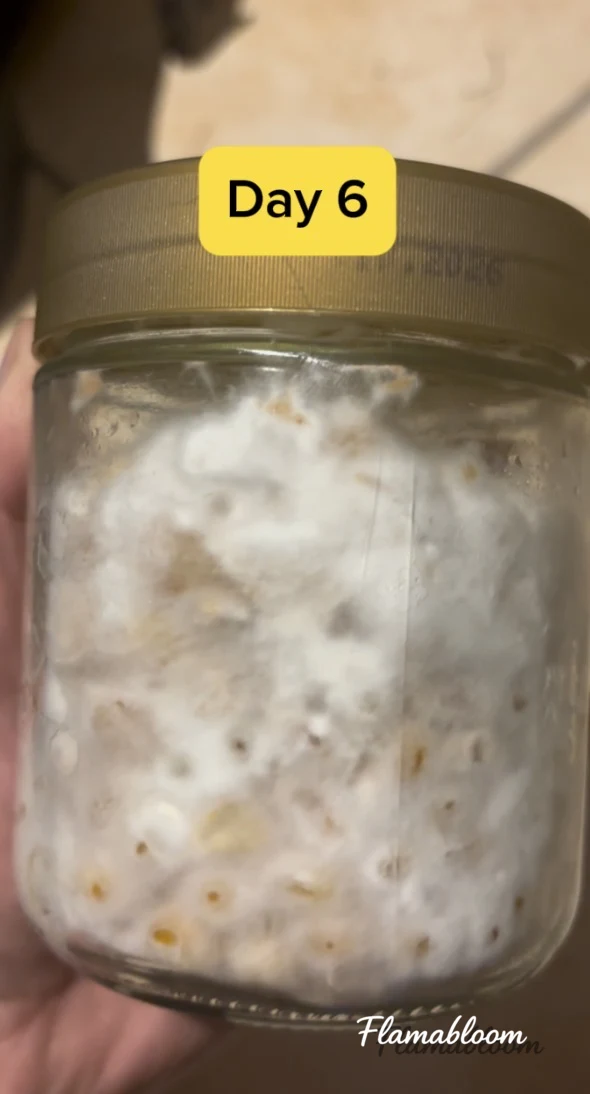
When the whole jar is white, with no strange colors, no unusual smell, and even growth, I know:
This propagation worked.
At that point, the wheat grains are no longer just wheat grains.
Each grain has become part of the mushroom spawn and can be used to inoculate substrate.
Using grain spawn to grow mushrooms
After the spawn jar has fully developed, I can mix the grains into suitable substrates, such as:
- Straw.
- Wood pellets.
- Sawdust.
- A mix of wood and straw.
- Substrate recipes made for specific mushroom species.
Because the spawn is divided into many small grains, it can be mixed evenly through the substrate.
The mycelium starts growing from many different points instead of from one large clump of spawn.
This helps the substrate colonize faster and more evenly.
Which mushrooms I used this method for
I have used this wheat grain method for several kinds of mushrooms, including:
- Grey oyster mushroom.
- Golden oyster mushroom.
- Pink oyster mushroom.
- Shiitake.
- Pom Pom mushroom.
- Pioppino.
- Buchenpilz.
Each one grows at a different pace.
Some spread quickly, with visible changes after only a few days.
Others are slower and ask for more patience.
But the basic grain preparation and inoculation process is quite similar.
Choosing the best jar for the next round
When I make several jars at once, I usually watch them and choose the best-looking one.
That usually means a jar with:
- Strong white mycelium.
- Fast and even growth.
- No unusually wet areas.
- No strange green, black, pink, or yellow colors.
- No sour or unpleasant smell.
I keep the best jar to continue propagating in the next round.
The other healthy jars can be used to inoculate mushroom-growing substrate.
In this way, from one original jar, I can make several new spawn jars and keep expanding my small batches.
A note on propagating too many times
Transferring grain spawn into new grain jars is convenient and saves money.
But I do not continue the chain forever.
After many transfers, the mycelium can become weaker, grow more slowly, or carry a higher risk of contamination.
So I always watch the growth speed and the condition of each jar.
If the spawn begins to weaken or gives unreliable results, I go back to using healthy spawn from a professional source.
Saving money is good.
But spending several weeks caring for a jar of grains that refuses to grow is sometimes not very economical anymore.
From one jar to a new little journey
What I like about this method is not only that I get more mushroom spawn to use.
It is the feeling of watching a whole process unfold right in front of me.
From light brown wheat grains.
A few white threads begin to appear.
Then, day by day, the mycelium spreads farther.
Until the whole jar is covered in a healthy white.
That is when I know I have made a new jar of spawn.
No very professional equipment.
No large laboratory.
Just cleanliness, patience, and the acceptance that not every jar will listen to me.
But whenever it works, it still feels very good.
Because from one small spawn jar, I am not only multiplying mushrooms.
I am also multiplying the chances to keep experimenting, keep learning, and wait for new clusters of mushrooms to appear in my garden.